Storing Books in a Small Historic Apartment (a Shelf DIY)
Adding an over the door shelf is a great way to maximize storage to get the most out of a small space.


I am definitely not a minimalist - collecting things is a hobby of mine. Living in a small space can be challenging especially because I have a lot of books that I’ve collected over the years. I have paired down my collection quite a bit to just ones that are special to me, but I still needed a solution to store the remaining gems. I am also a renter, which means I can’t do anything permanent to my apartment.
Over my door frame there is a ledge about 3 inches wide. It was probably for pictures at one time - it has grooves in the top and I read somewhere that historic homes from a certain era typically have a ledge above the wainscoting that were used for displaying picture frames. I realized that I could easily extend this ledge by adding a shelf there. I just needed to screw the shelf onto the ledge, which would be easy to remove and leave no visible damage.
While I was cleaning the ledge, I found the skeleton key that goes to the antique door knob on my bathroom door. Lucky find!

Materials for Storing Books in a Small Space (a Shelf DIY)
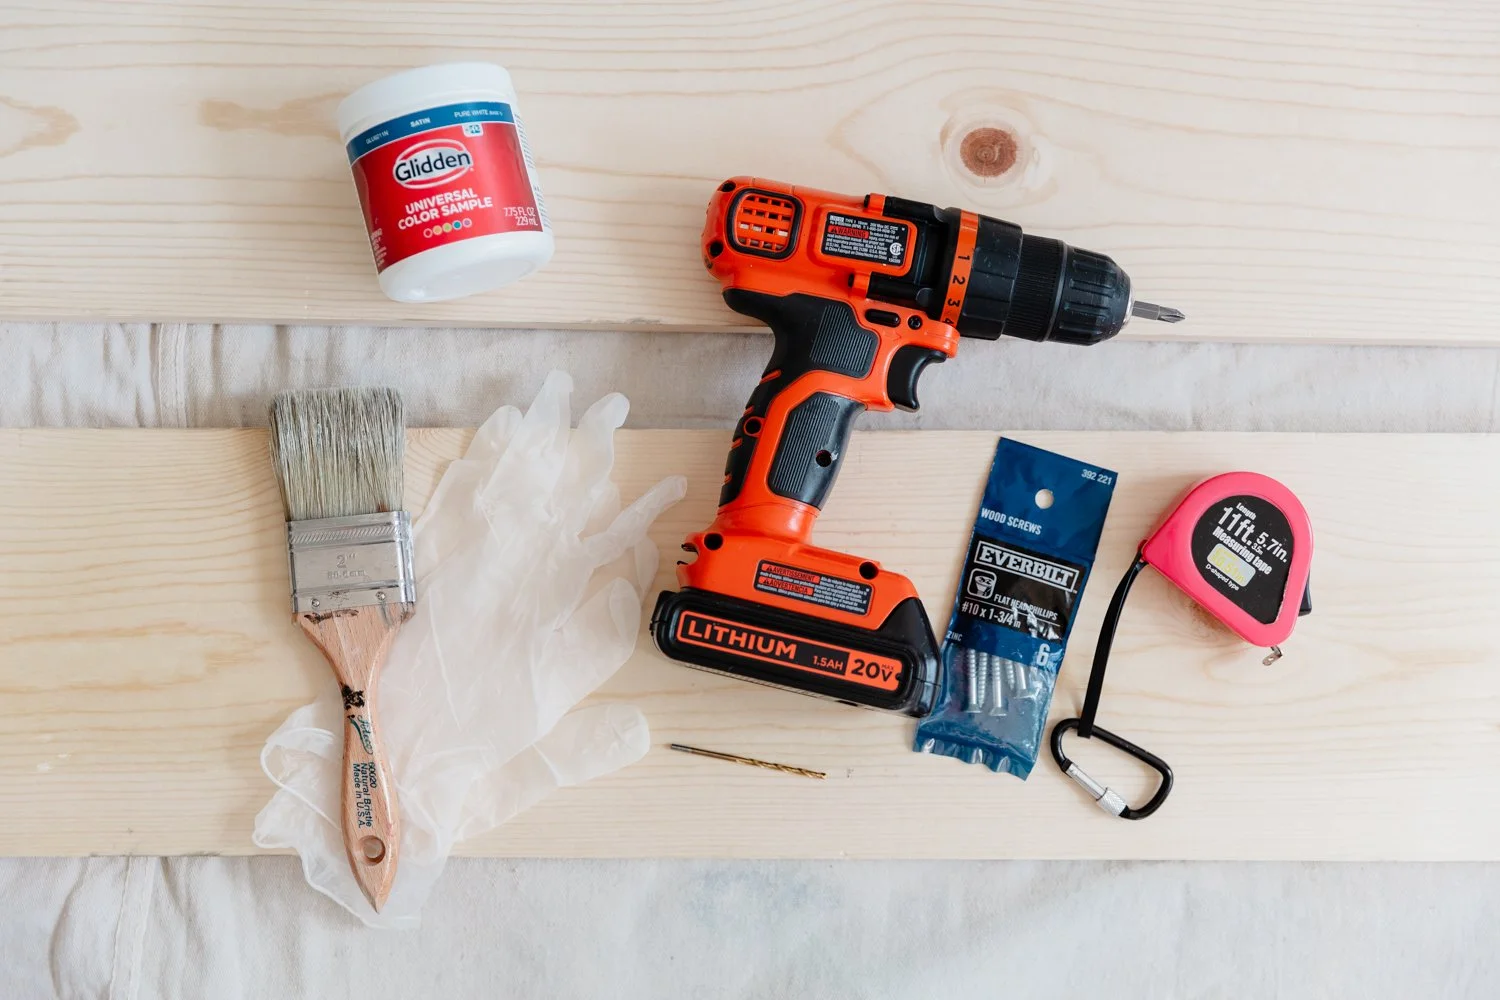
One trip to home depot and $31.71 later and I had everything I needed.
Wood - I purchased an inexpensive common board because I was going to paint it anyway. The dimensions of the wood are 1 inch x 8 inches x 10 feet and I had to cut the wood to the length I needed using my circular saw because Home Depot’s saw was down. I can usually have my wood cut at Home Depot which saves a lot of hassle.
Power Drill - Gets the job done quick! I used a phillips head drill bit and a 7/64 drill bit.
Screws - I picked up some #10 x 1 3/4 inch wood screws.
Tips for Storing Books in a Small Space (a Shelf DIY)
Drill a Pilot Hole - Before drilling in your screws, drill pilot holes where you are going to place your screws. Use a drill bit that is just slightly smaller than the screw width to drill the holes. This way, the screws will go in smooth and easy.
Choose the correct length of screw - You don’t want your screw coming out the other end. Measure the width of your ledge and the width of your wood and add them together. Pick a screw that is slightly shorter than that number.
Organize your Books by Color - I am a visual and kinetic learner, so I find that when I organize things by color it helps me remember where they are. It’s also aesthetically pleasing!
More DIY Projects
Trash Can Makeover with Caning

How to Make the Shelf
Supplies
Tape Measure
Cleaning Solution or Soap and Water
Wood
Screws
Power Drill with Phillips Head and Drill Bit
Paint (optional)
Paint Brush
Gloves (optional)
Directions
Step One - Measure your space. Use a tape measure to get an accurate measurement for what size you need your wood to be. I measured the width of where I wanted the shelf and how far out I wanted the shelf to sit (the depth). Also take into account the dimensions of your books to make sure they will sit on the shelf properly - what is the depth of your biggest book?
Step Two - Cut your wood to size. I used a T-Square to measure out and mark a line where to make my cut based off the measurements I took for the area that the shelf will sit. I only needed to cut the end off of the wood. I used a circular saw to cut along the line. A chop saw would work better for this, but I had the circ saw on hand and it worked fine too.
Step Three (optional) - Sand and paint the wood.
Step Four - Clean the picture frame ledge with cleaning solution or soap and water.

Step Five - Place the wood in the spot you want to attach it to the picture ledge and drill pilot holes. I made three pilot holes. Drill the screws into the three pilot holes through the piece of wood and into the picture ledge.


Step Six - Organize your books and place them on the shelf.


I have so much more space in my apartment now and it feels so tidy!
-Jessie