Furniture Makeover: Reupholstering a Desk Chair
This project is easy to complete, yet it will have a big impact on the design of your space. The steps are pretty straightforward, so if you are new to upholstery this is a good place to start. And if you make it through this tutorial, there’s a furry surprise at the end ;)
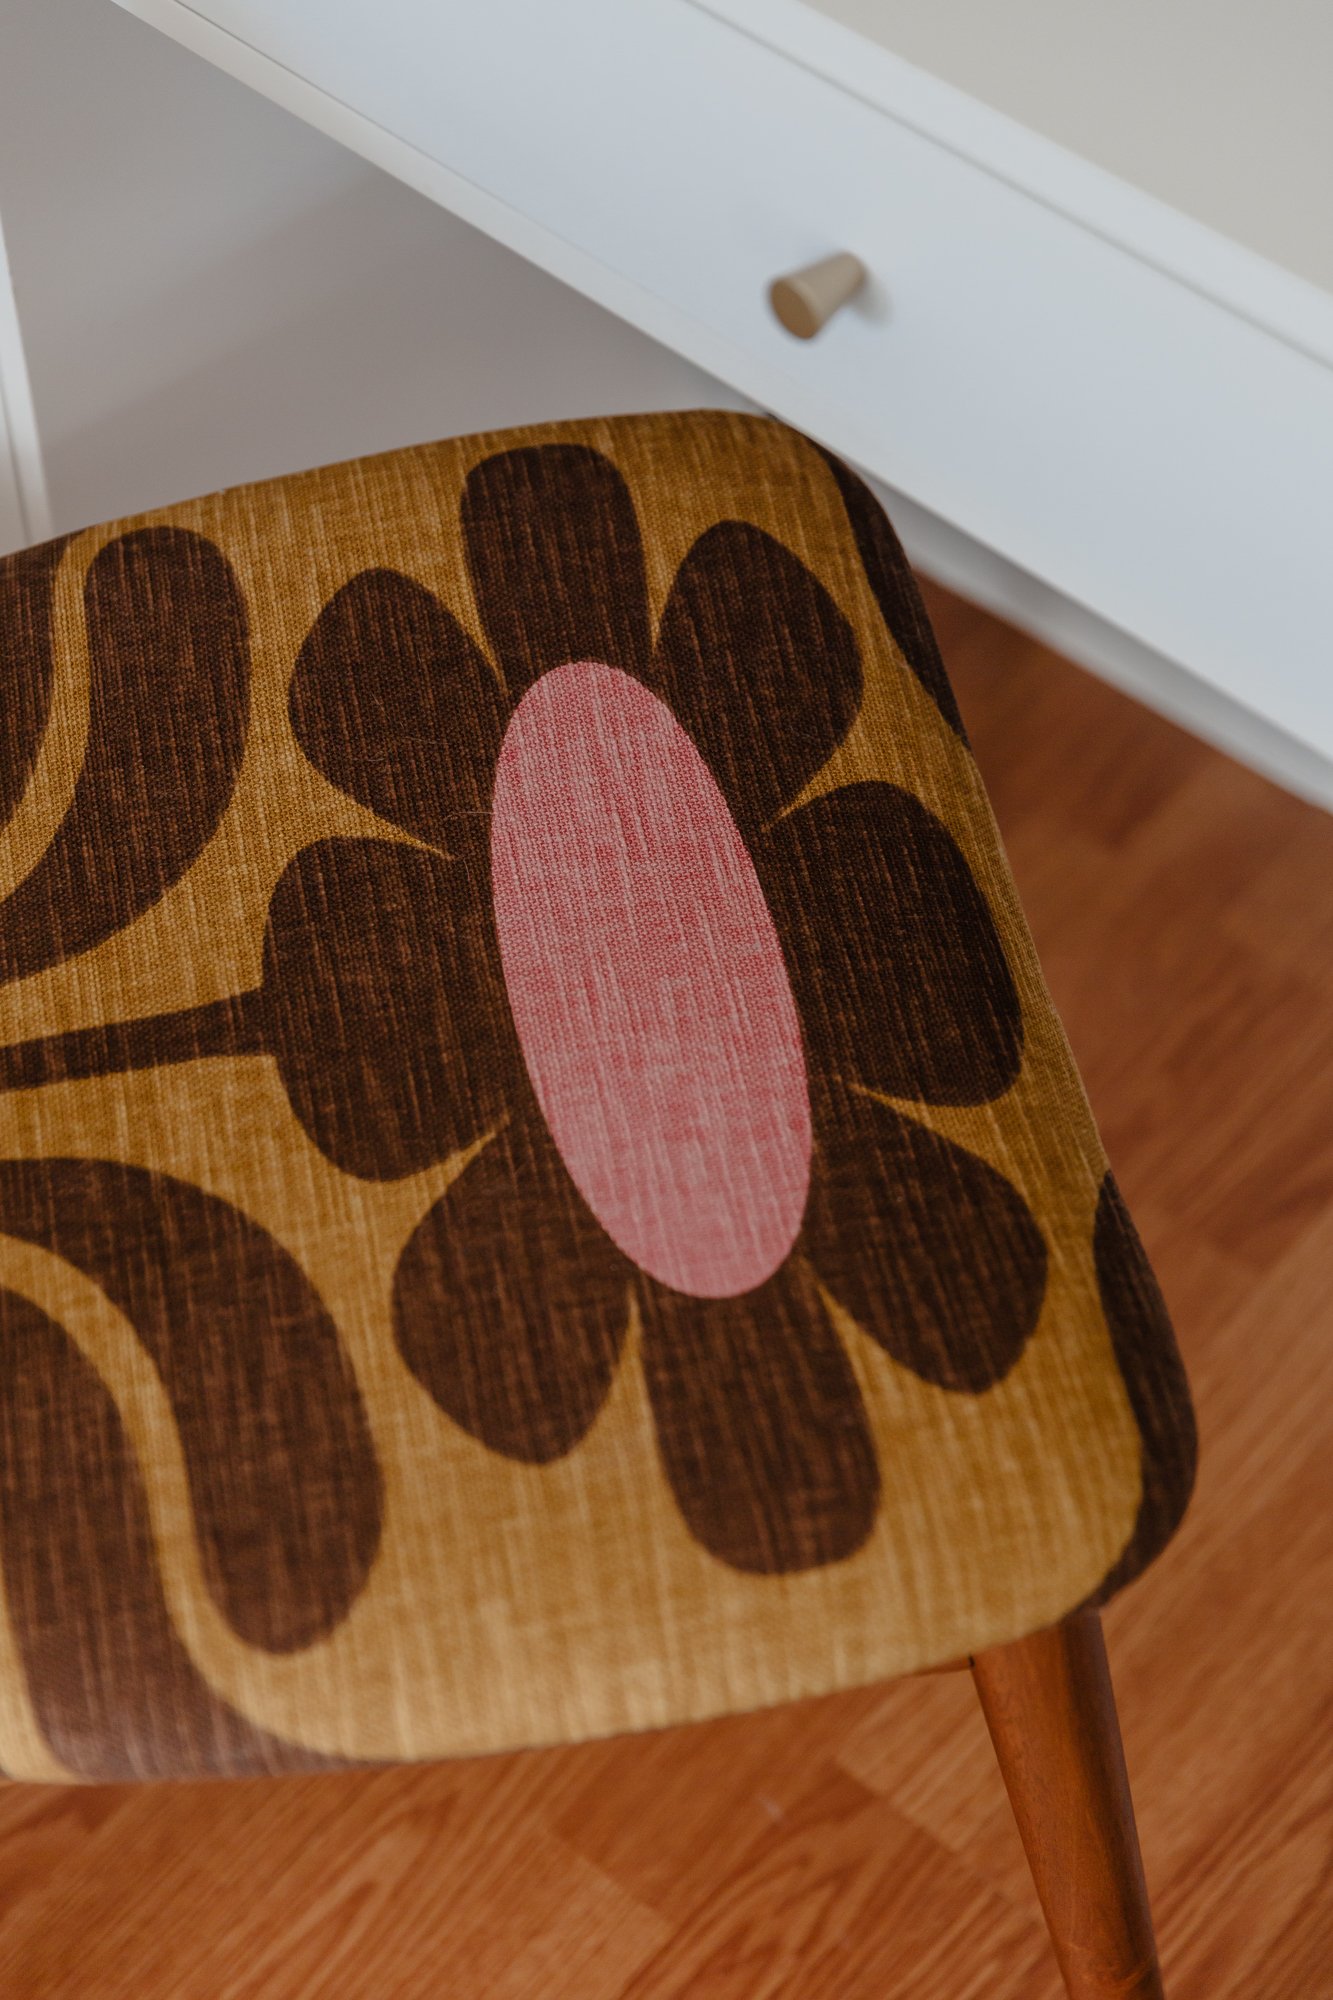
Though I understand the ergonomic qualities of an average desk chair, I just couldn’t reconcile with the eyesore. I have to be extremely picky with any piece of furniture I bring home because my whole apartment is the size of one bedroom. California livin’ baby. Also, my desk has a mid-century inspired design and I wanted something to match but couldn’t find anything in my price range. Normally I’d hit Facebook Marketplace for this kind of thing, but if you live in the bay area then you know anything mod will come with a big price tag. I ended up finding a chair that I could easily reupholster to match my desk better, so I went on a fabric search. I found this beautiful Orla Kiely fabric on Etsy and couldn’t resist. It was a bit pricey but what can I say, I was smitten!


Supplies
Chair with an easily detachable seat
Upholstery Fabric (the amount will depend on the size of the seat and how often the pattern repeats. I purchased one meter, which is about 1.09 yards and it was plenty with extra to spare.)
Staple gun and staples
Power drill and drill bit that matches your screw (either Flat-head or Phillips-head). I used an extra long Phillips head bit because the screws on my chair were inset pretty deep in the wood.
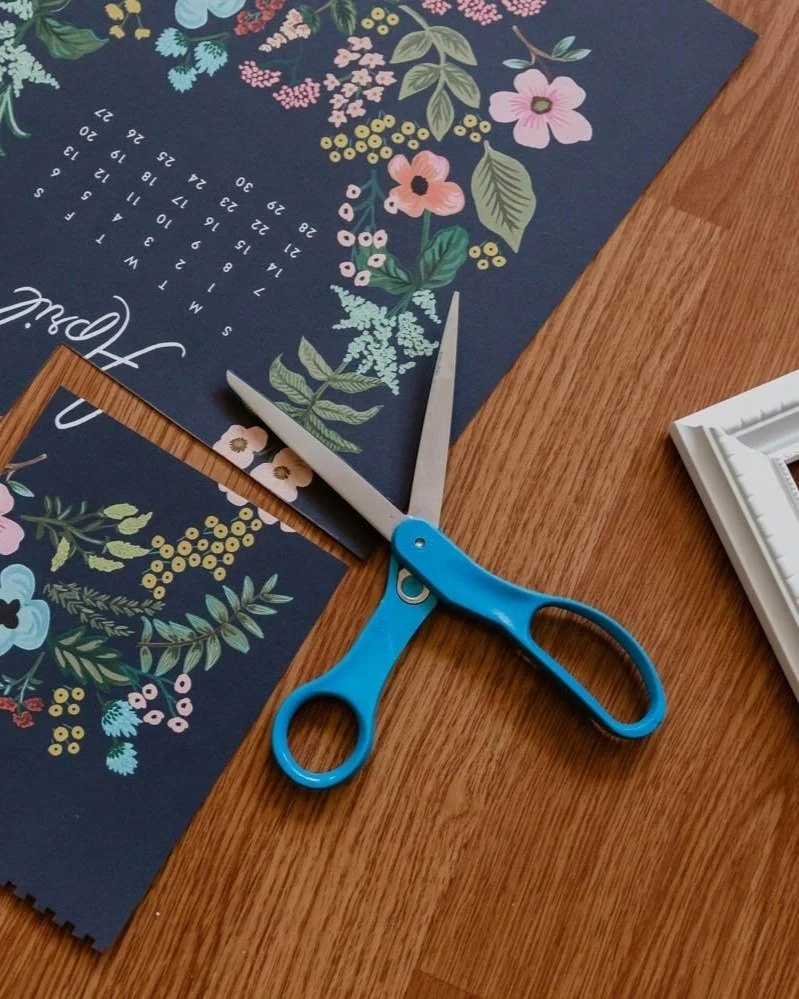
Scissors (I used fabric scissors, but any sharp scissors will work.)

Optional Tools for Removing Staples
Staple Remover
Needle Nose Pliers
Tack Hammer

Time to complete: about 1.5 hours
Steps
Remove the seat from the chair by flipping the chair over and removing the screws that hold the seat in place. I used a power drill with an extra long phillips head bit. You can also do this by hand with a screwdriver but it does take a bit more elbow grease!


Cut off backing and old fabric with scissors. Option: can remove backing with staple remover and reuse once the seat is recovered.


Center the new fabric onto the seat. The print on my fabric made it easy to eyeball, but if you need to get it exact simply mark the center of your seat with a sharpie and snip your fabric's edge where the center of the pattern lines up.


Once your fabric is centered, flip the seat onto its back and begin stapling. Start by placing one staple on each side. Flip the seat over to ensure your fabric is still centered. If it looks good, staple the sides leaving the corners open. For the corners you’ll want to pull the fabric tight over the corner’s edge and fold the fabric in little pleats on the bottom of the seat so they are not visible. Repeat this process with all four corners.


Cut away any excess fabric. If you choose to save your original backing, all you need to do is staple it back on. If you didn’t save it, any fabric will work. Or you may leave it uncovered if you’d like because the bottom will not be visible.


Reattach the seat. If you don’t have a second pair of hands you’ll need to flip the chair over and rest it on another piece of furniture to hold the seat in place.

Insert the screws where you removed them, pressing up on the seat as you do so. Note: If you use a power drill to insert the screws back into the chair seat, be very gentle. The wood can crack if you force the screw too quickly. I used a method I like to call a power pulse (haha) - rather than holding down the power button, pulse the button, pausing for a second in between each pulse. This will help the screw go in more gently and reduce the risk of forcing the screw too far.


I really love how it turned out, and it appears that Kitty does too…Leave a comment below to let me know what you think!
-Jessie