Furniture Makeover with Chalk Paint: Entryway Bench
Giving your furniture a fresh coat of paint is a great way to reduce waste if you feel like your style or color pallet has changed. It can seriously change the whole feel of a room! It's also a great way to save money. Have you got a piece of furniture around the house that could use a face lift?
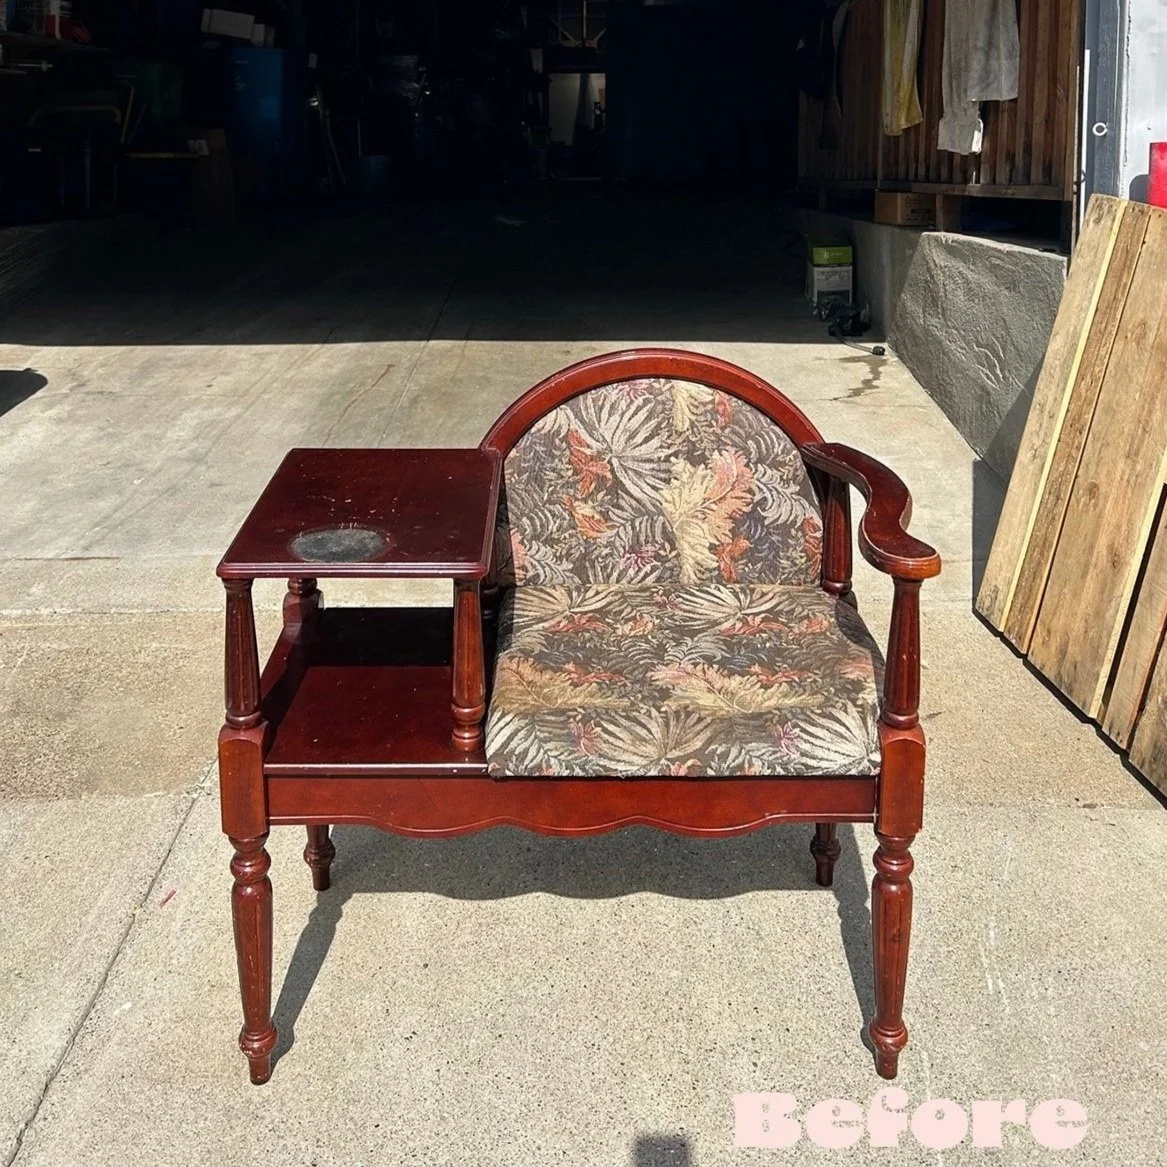
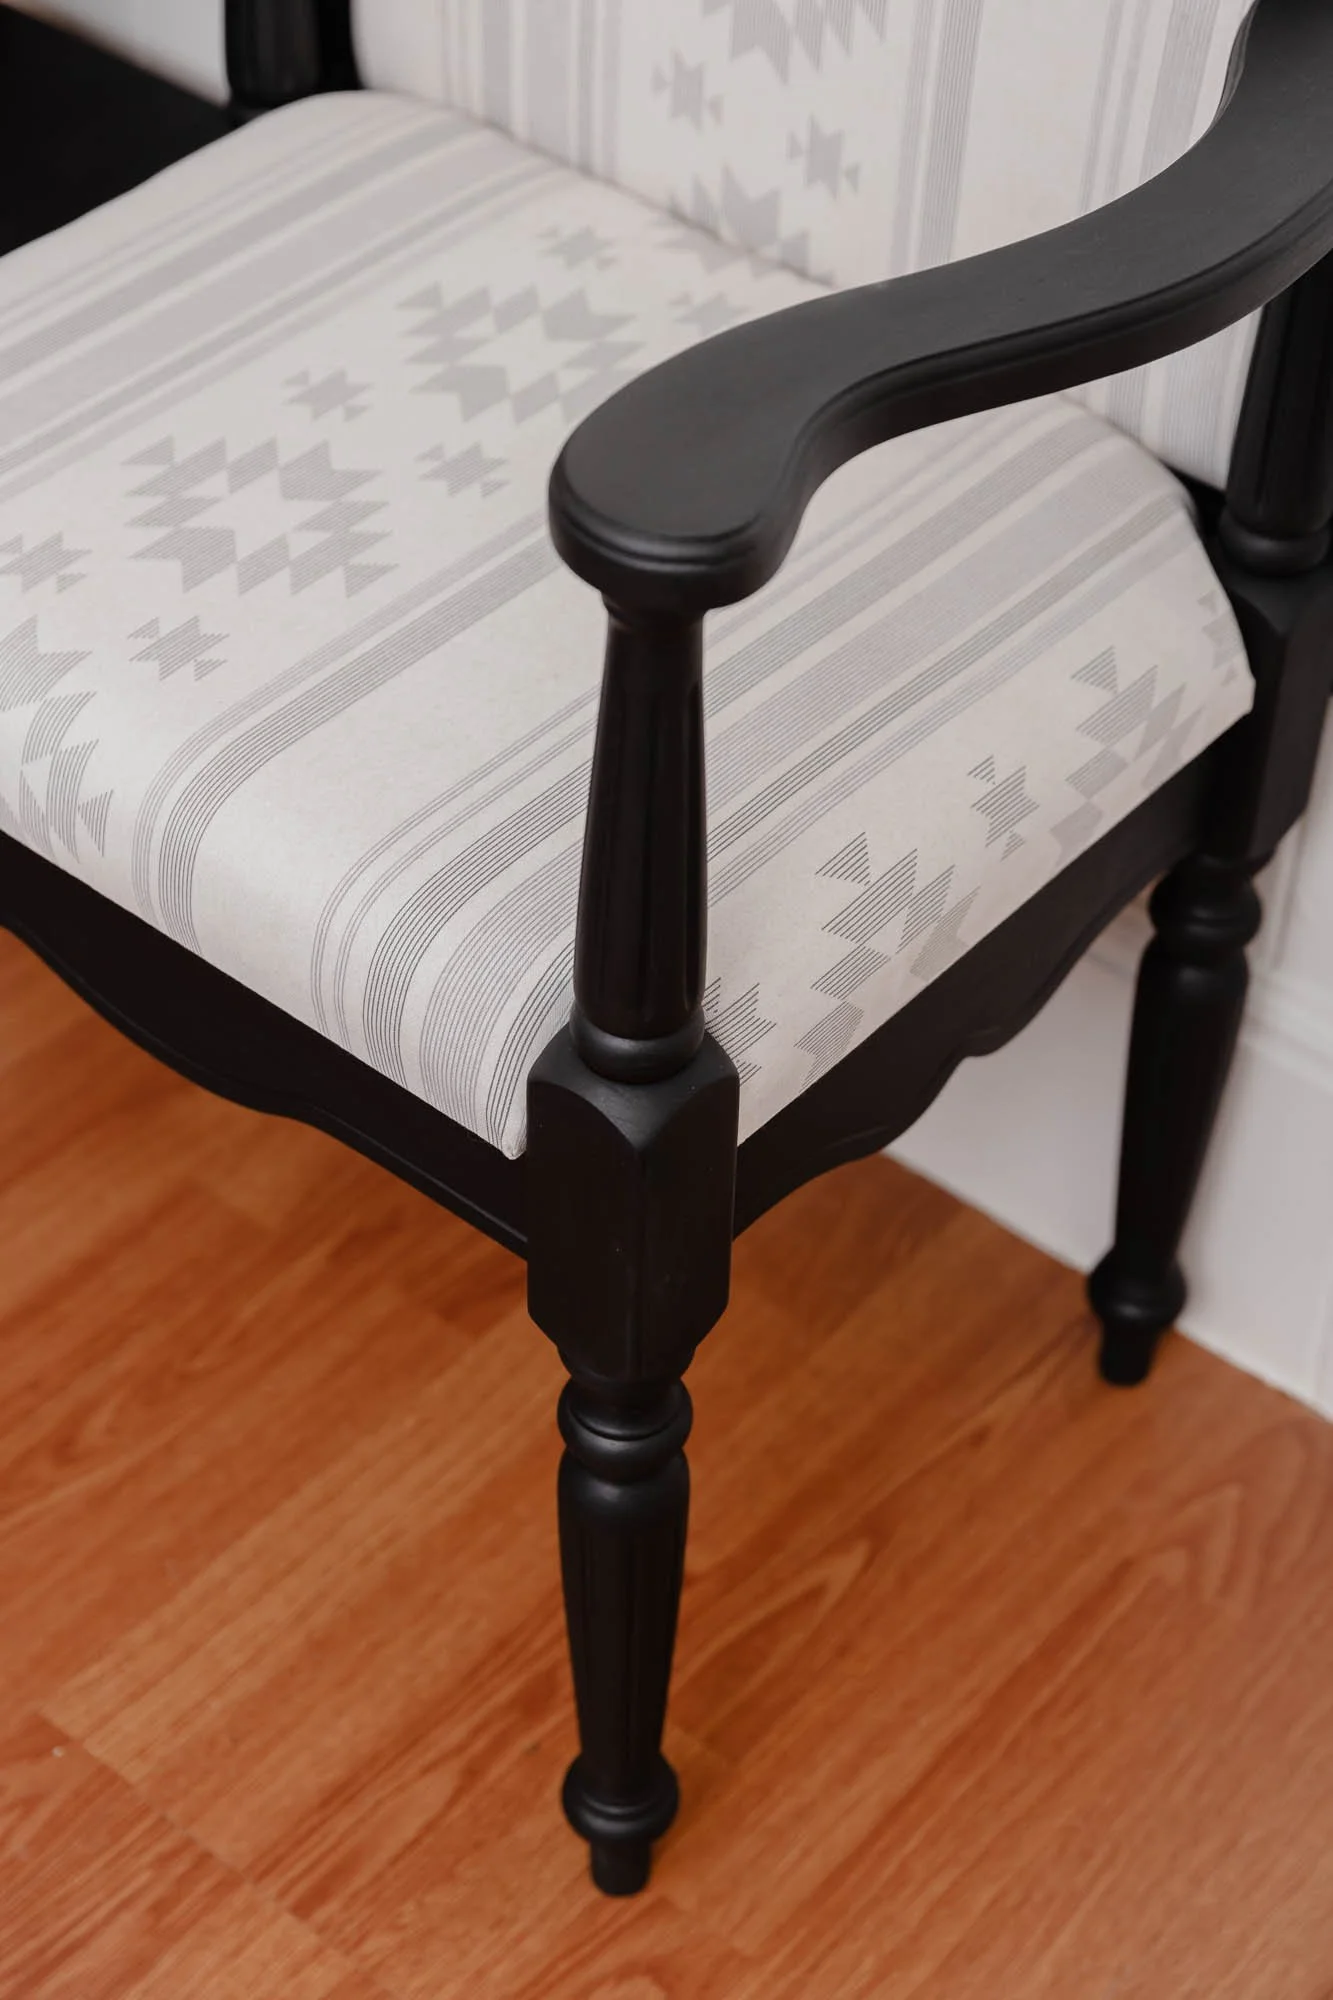
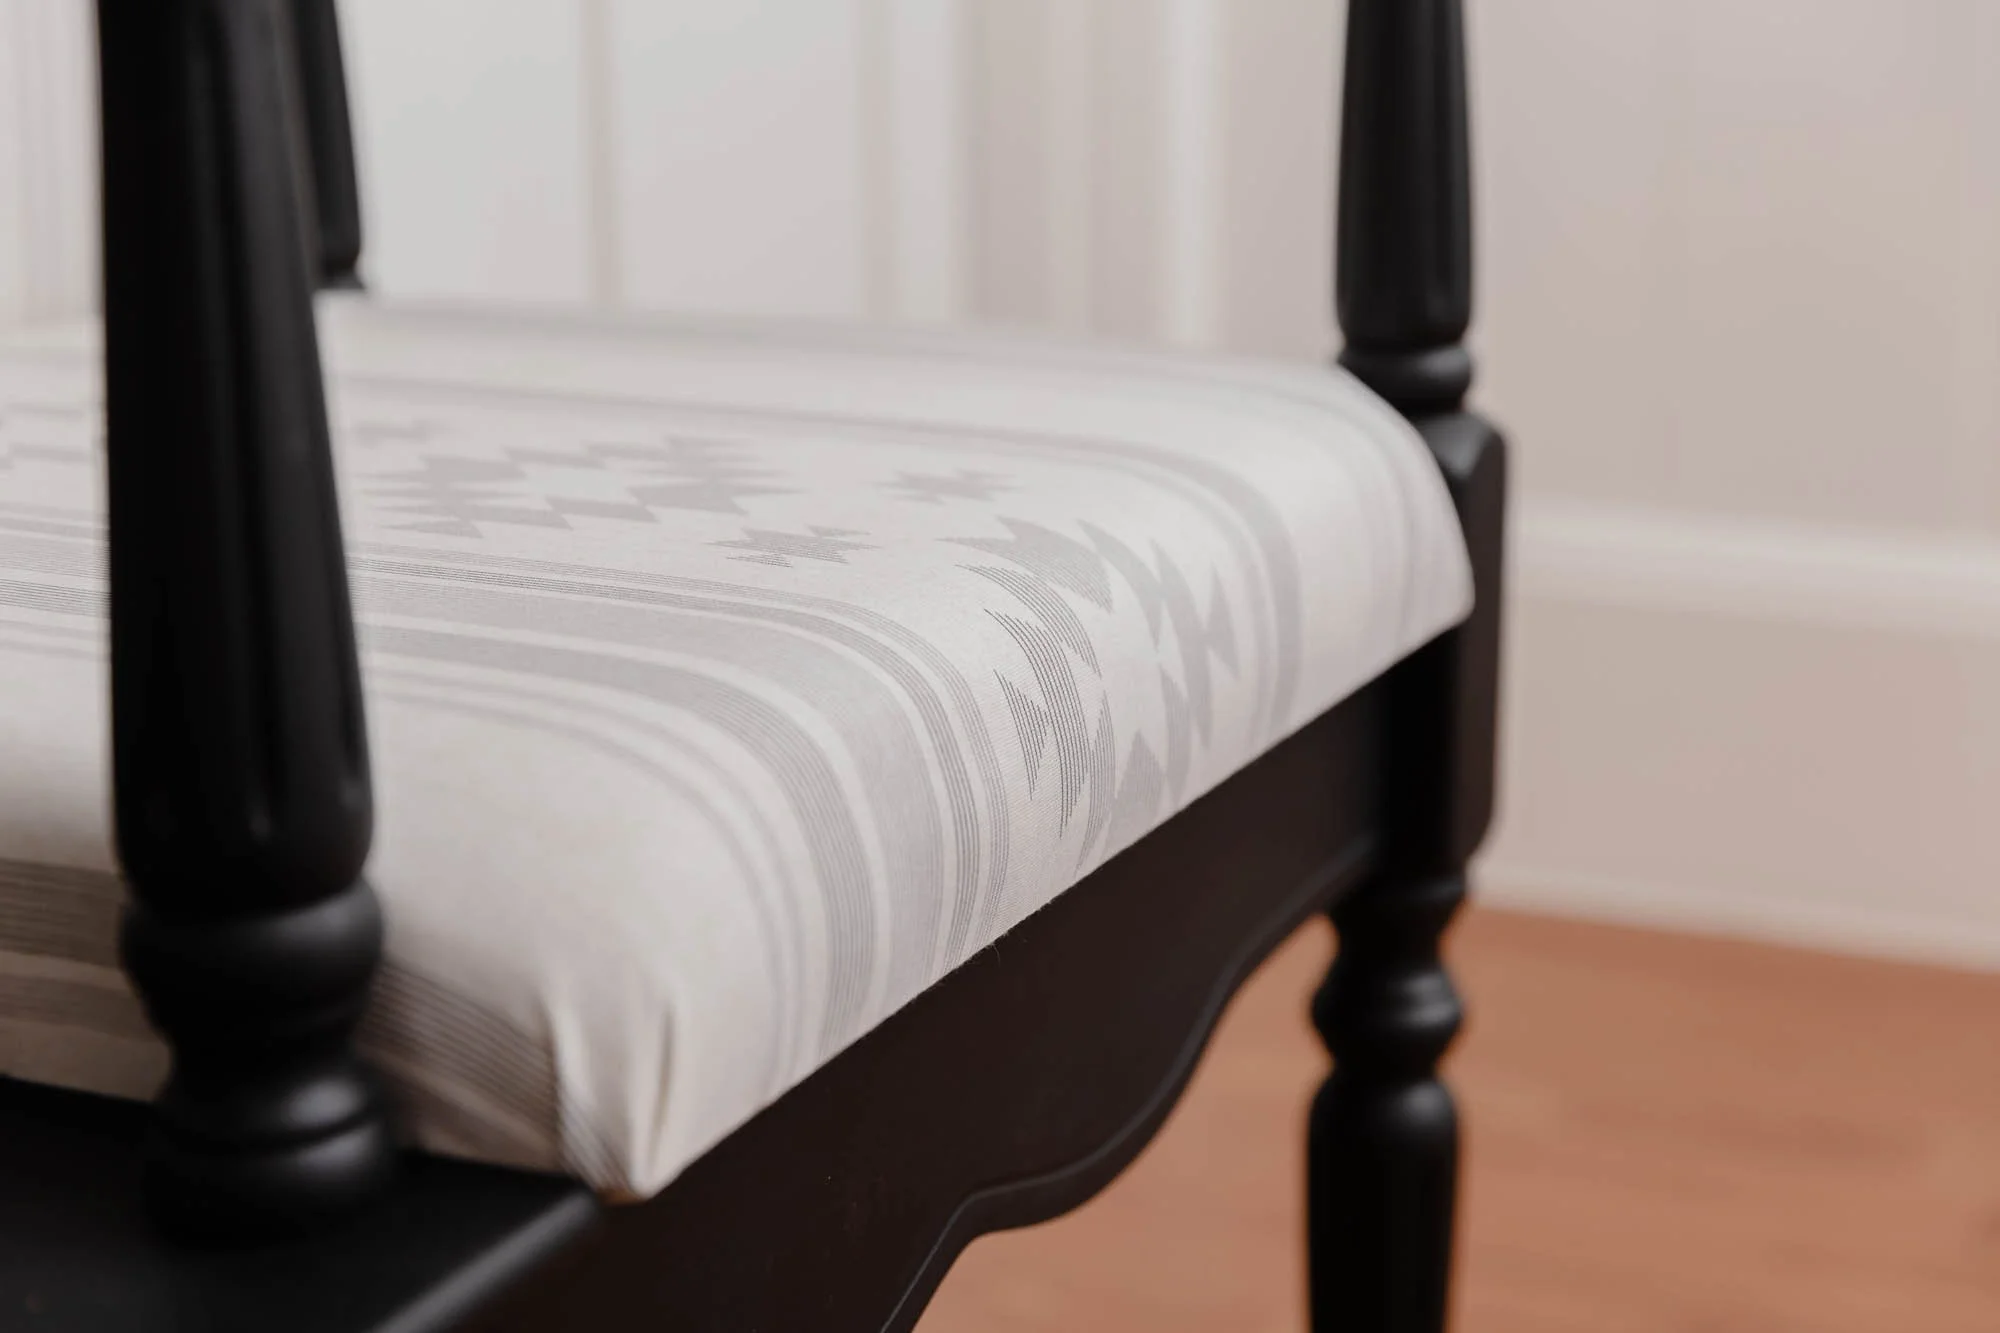
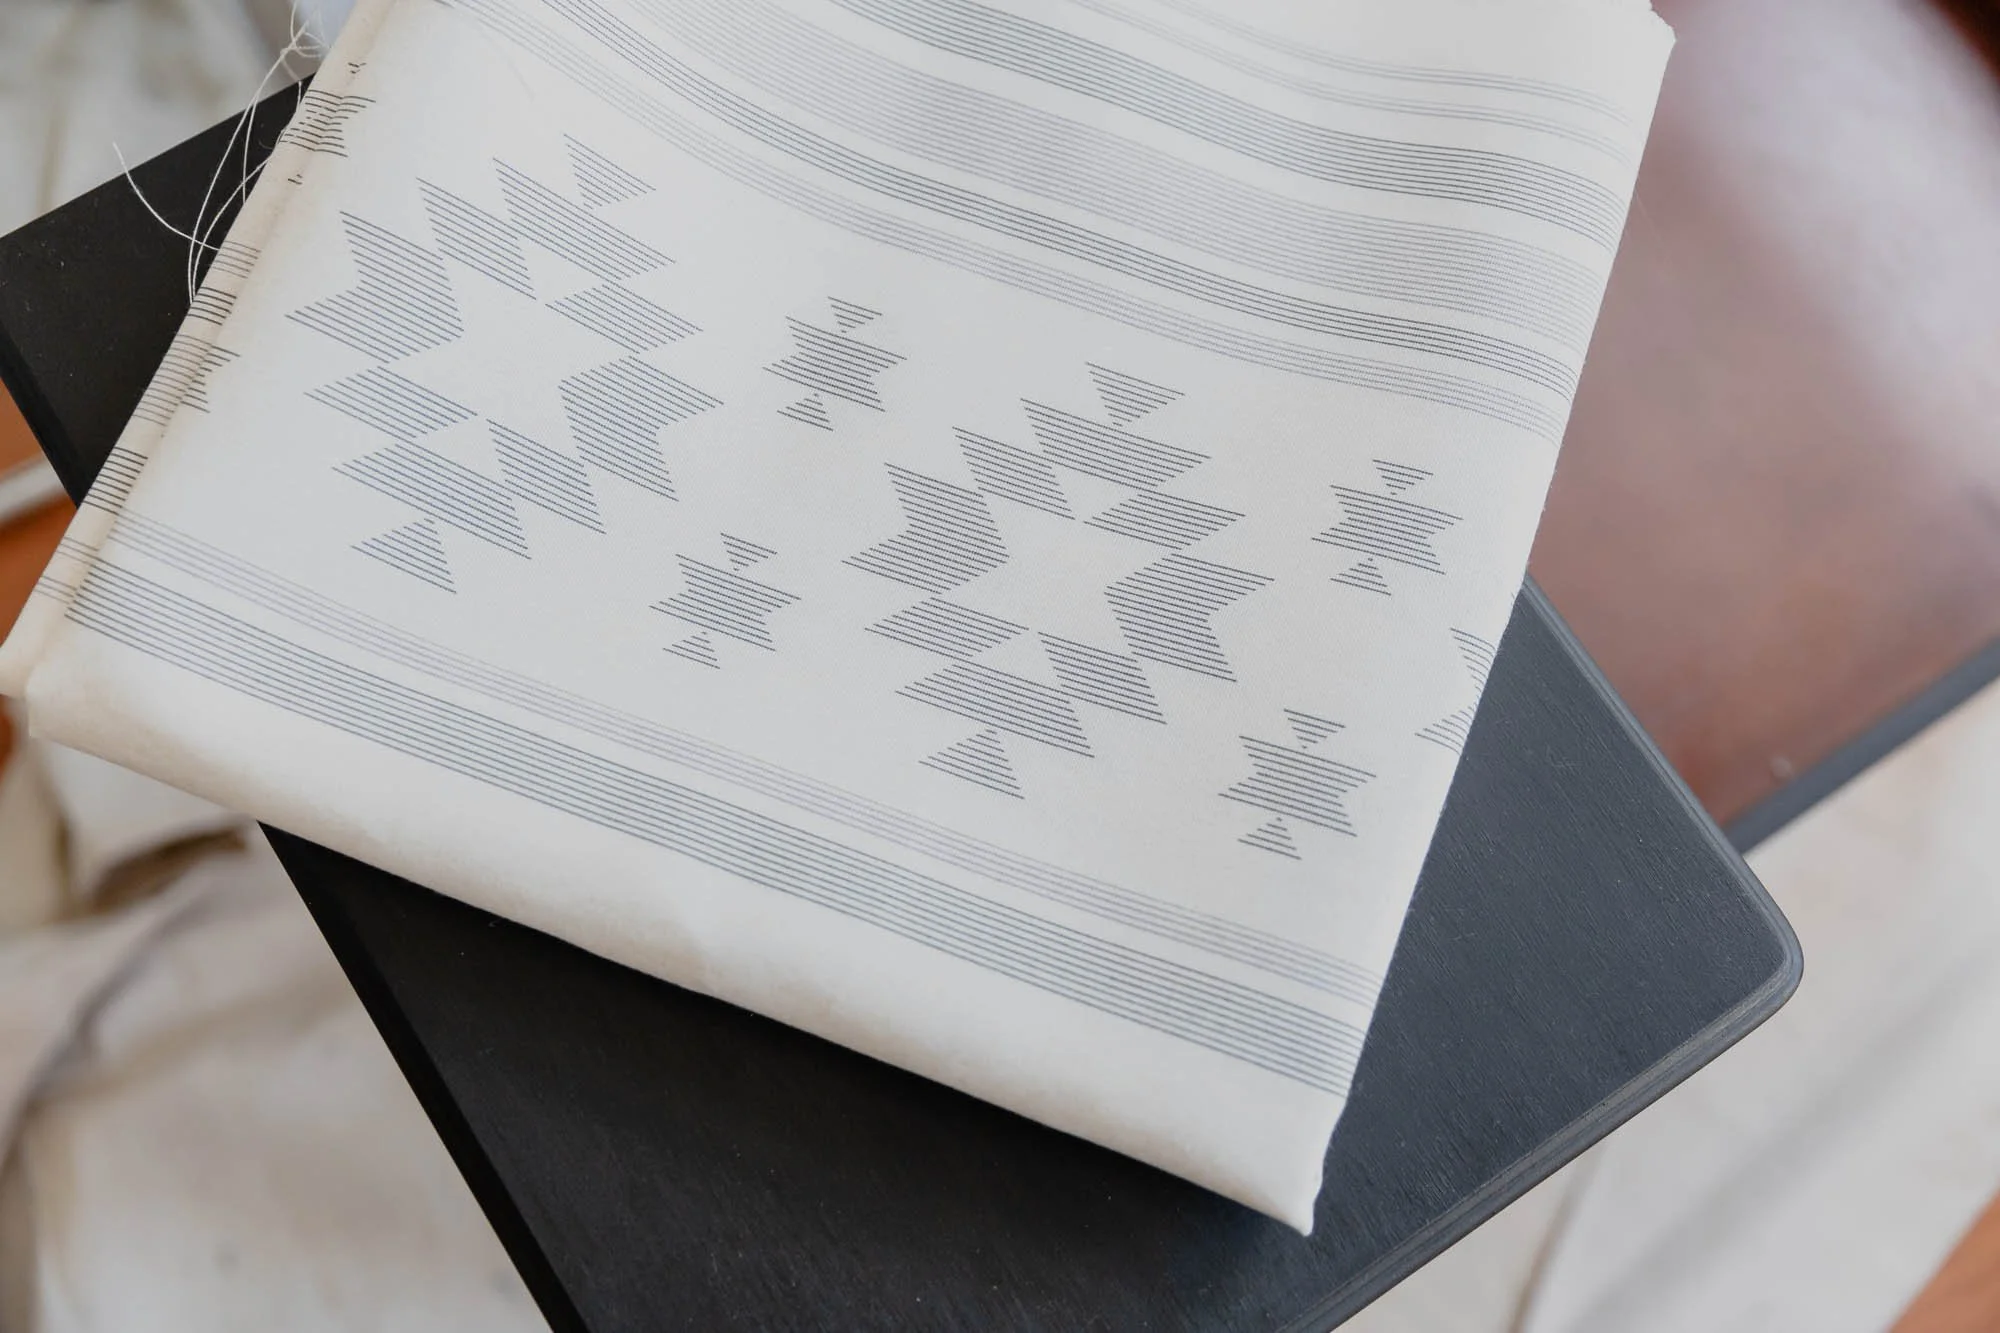
When I found this 1990s entryway bench, it was in serious need of some TLC! One trip to Joann Fabrics later (they have so many great prints right now!) and I found a lovely geometric fabric in the outdoor fabrics section. I chose a material that would be easy to spot clean. It just so happened that I had some Folk Art Home Decor Chalk Paint in Rich Black left over from a previous project. Perfect!


Supplies for Upholstery
Power sander
Damp rag or paper towel
Paint, I used Folk Art Home Decor Chalk Paint in Rich Black
Wax, I used Folk Art Home Decor in Clear Wax
Round chalk paint brush
Round wax brush
Supplies for Painting
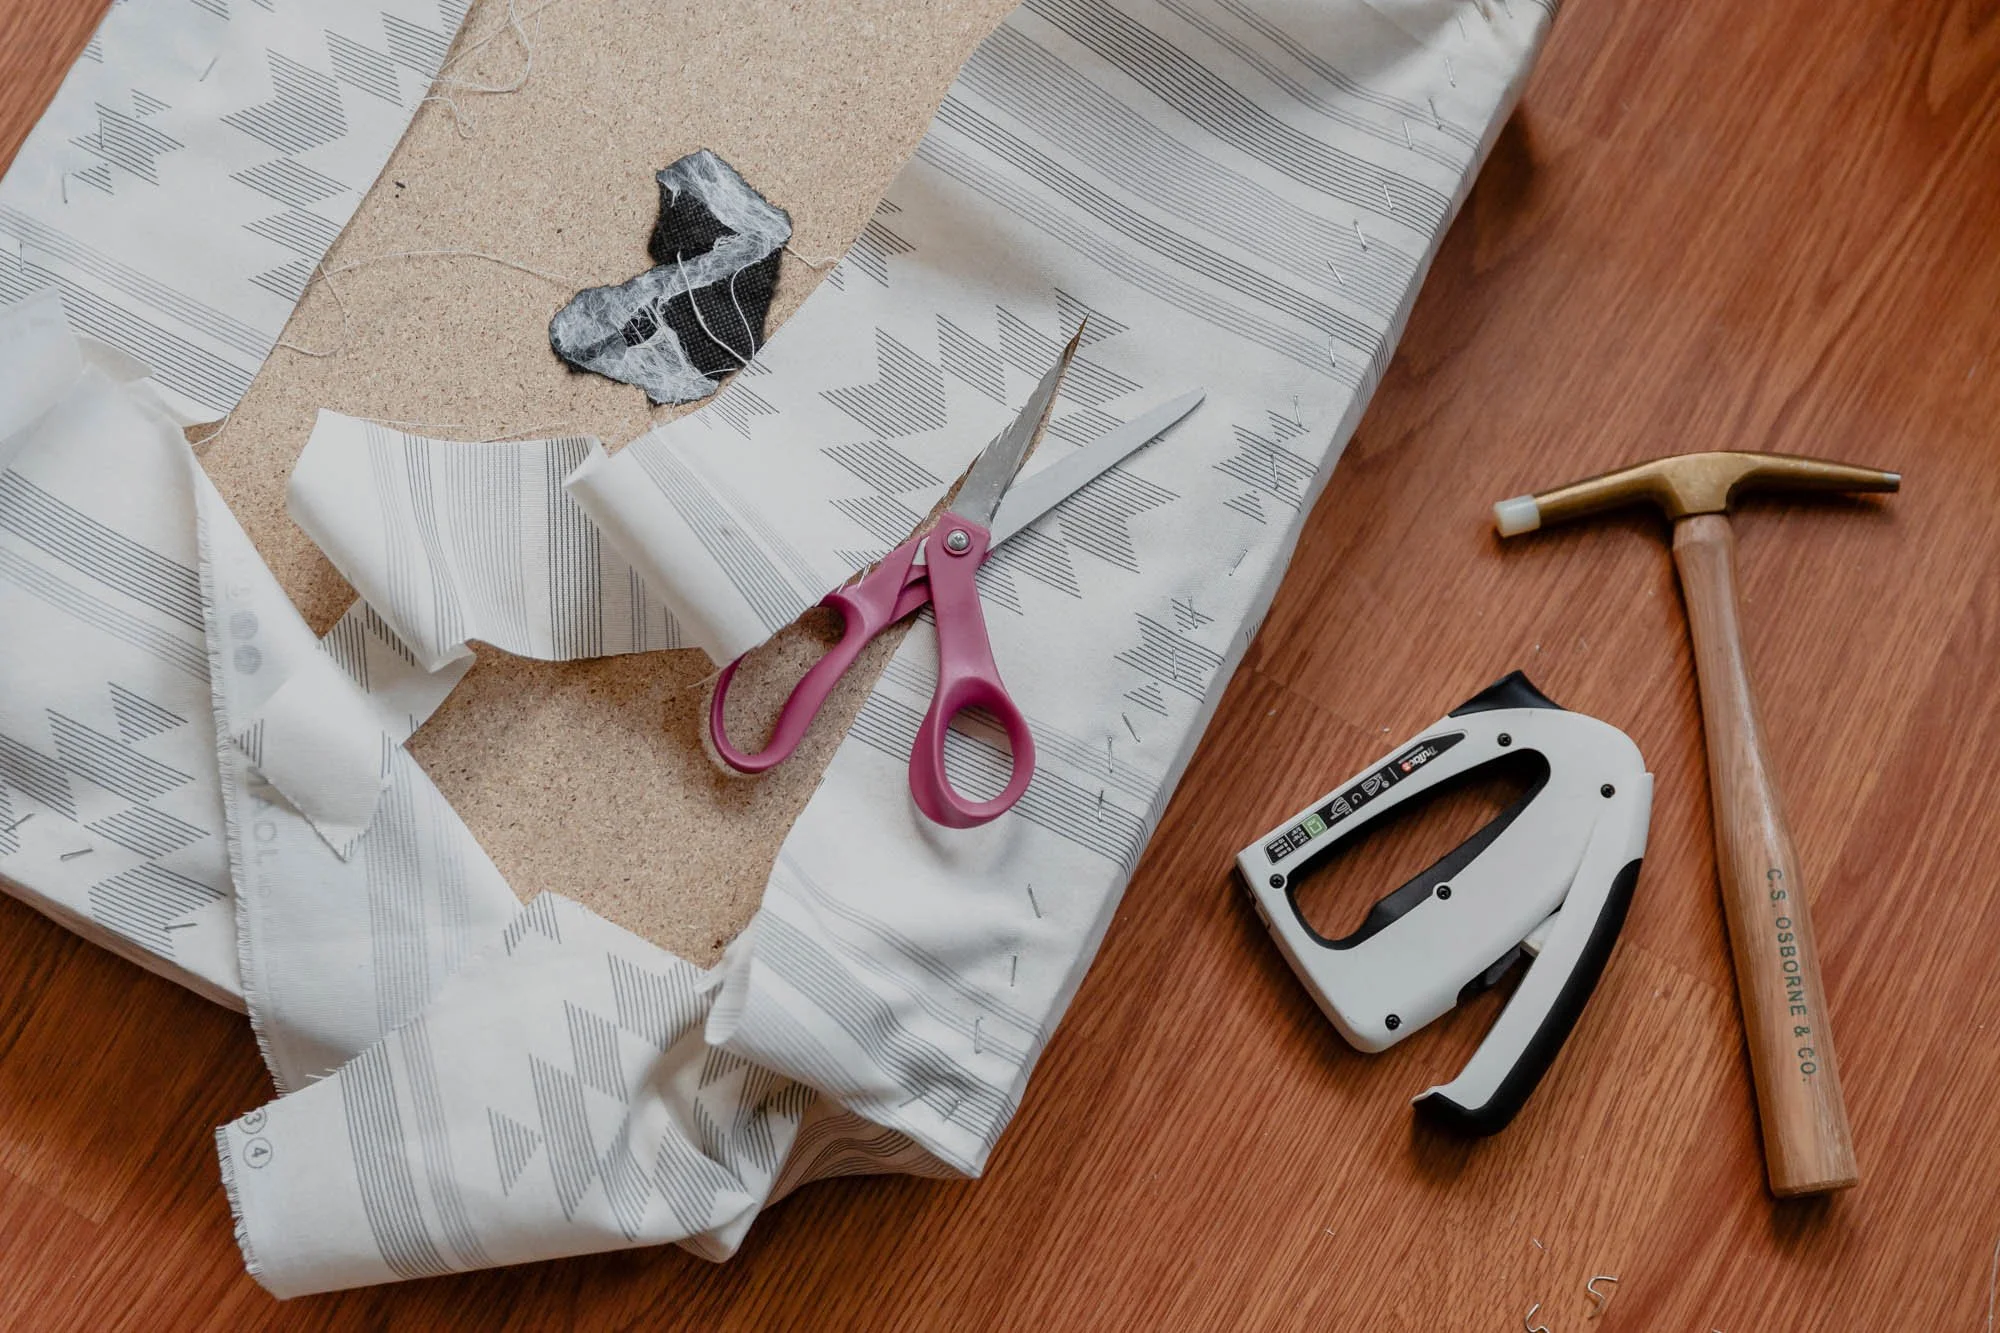
Upholstery fabric of your choice, I used about 1.5 yards
Tack hammer or small rubber mallet
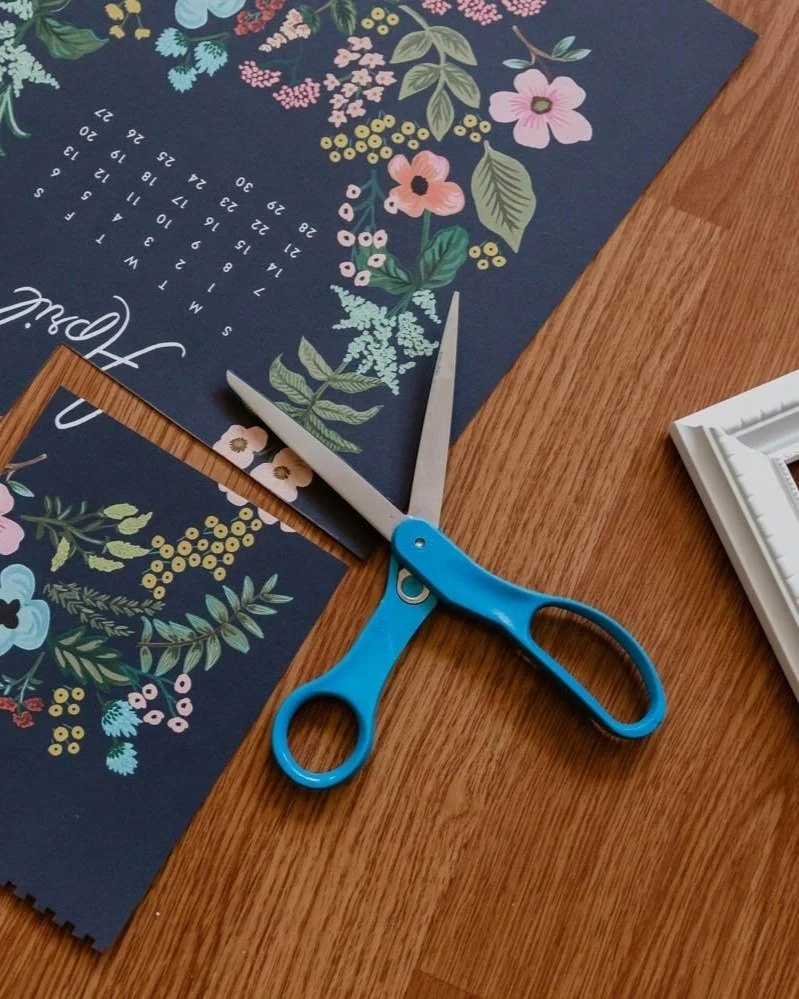
Scissors
Let's get into it!
Steps
Prep the Wood, Seat, and Backing
To prep the wood for painting, I first removed the seat and backing. The seat was not attached in any way and came out easily. The backing was set in with nails that held it in place.
To clarify, nails were not inserted directly into the backing, just bordering it to hold it snug. I removed the backing by gently tapping the upholstered back with the rubber end of a tack hammer (or small rubber mallet) until it was released from the grip of the nails.
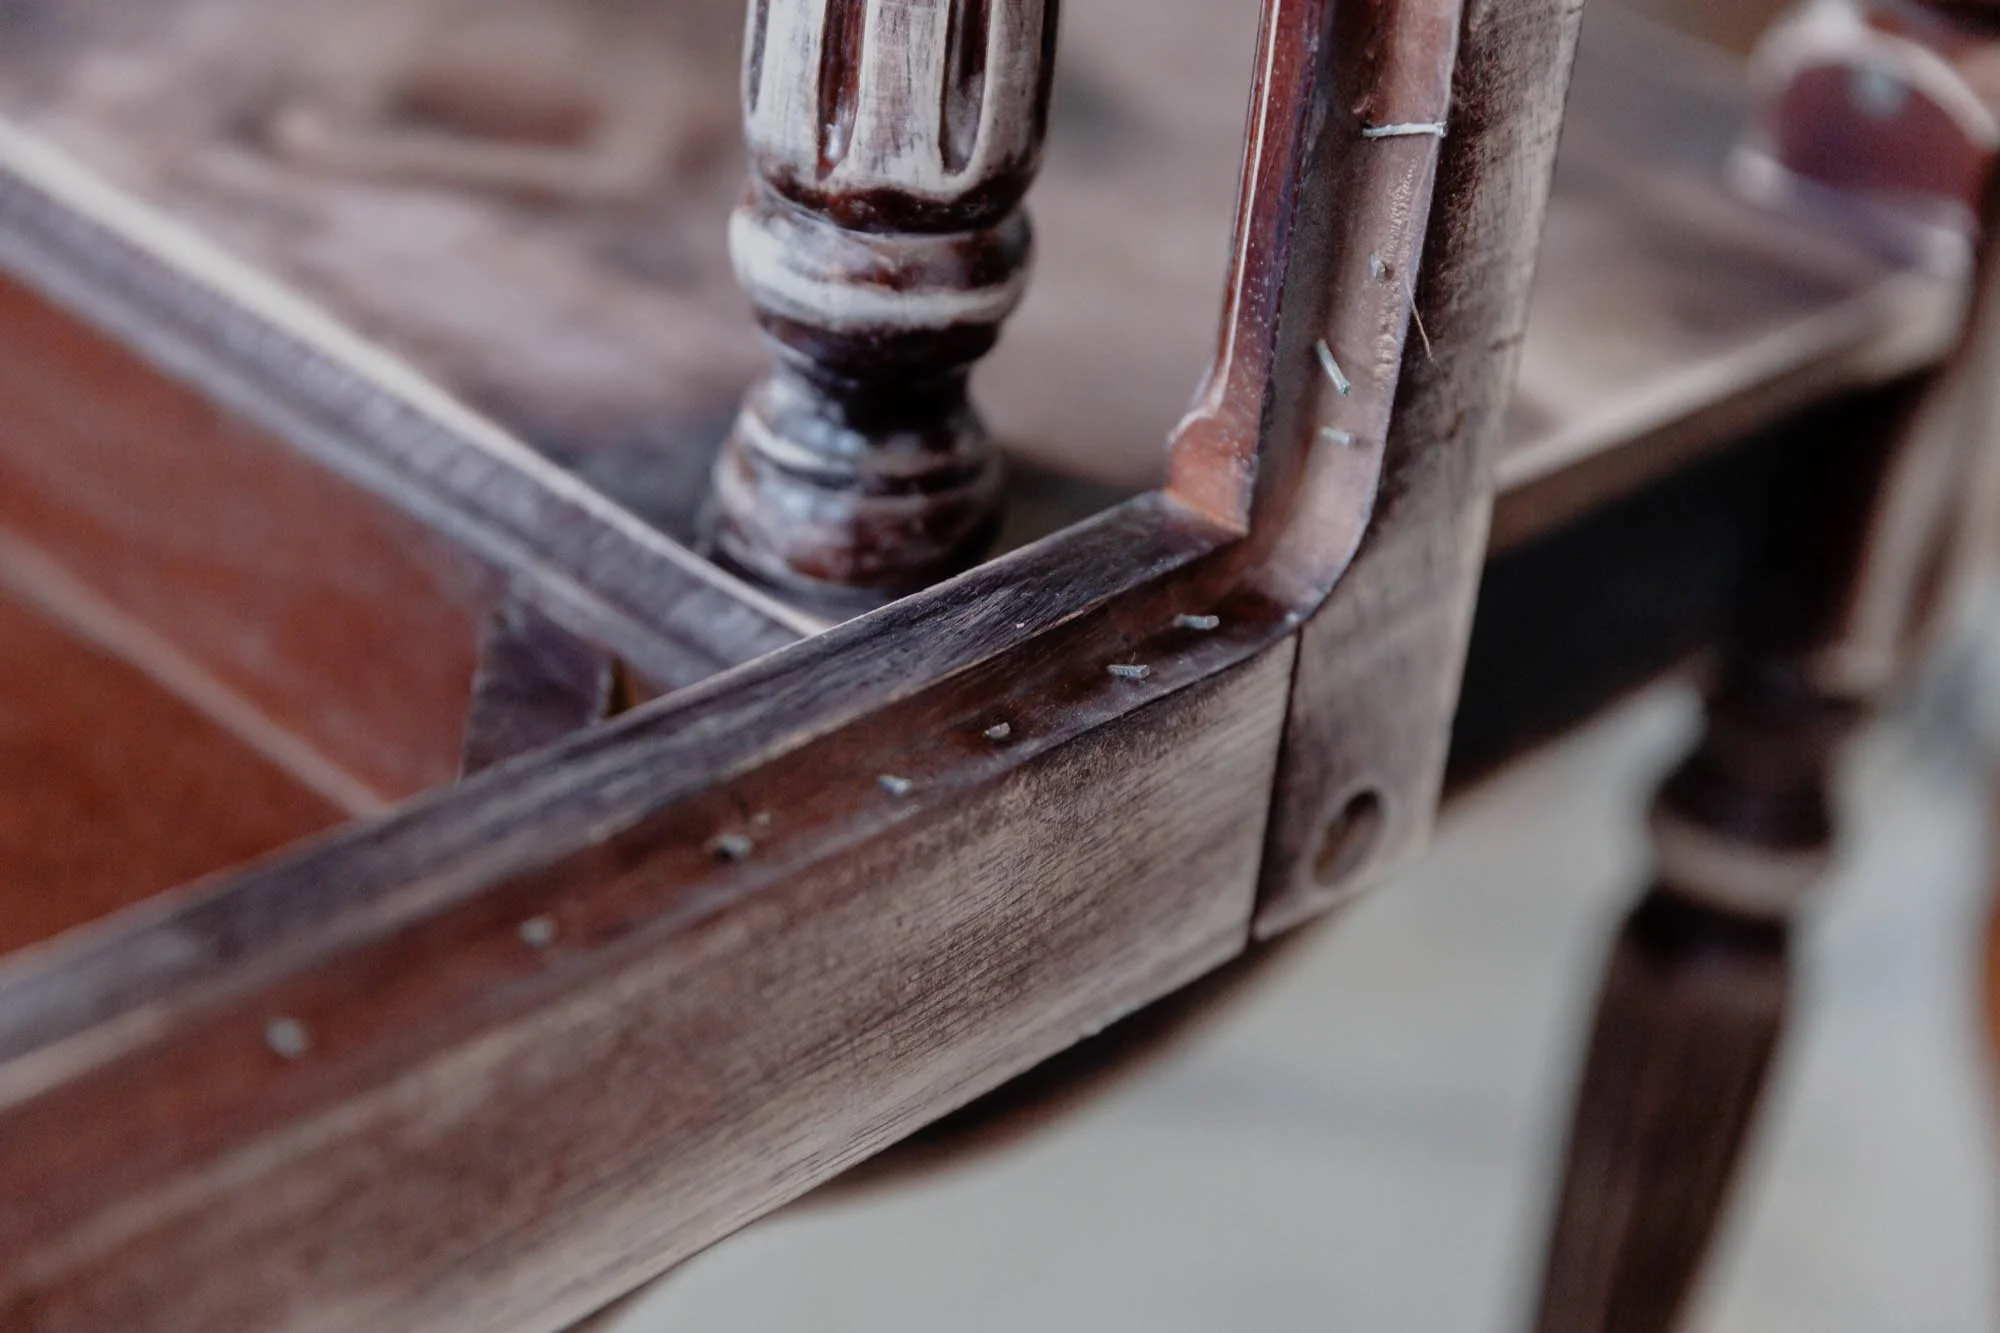
Next I used a power sander to sand off the flat surfaces. For the legs and details I used a sanding sponge. A fine grain 220 kept the texture of the wood smooth.

This piece had a little wiggle in one leg, though nothing serious! I added a little wood glue to secure it. After any necessary repairs, I wiped down the whole piece with a damp paper towel to remove any excess dust leftover from sanding and let it dry overnight.
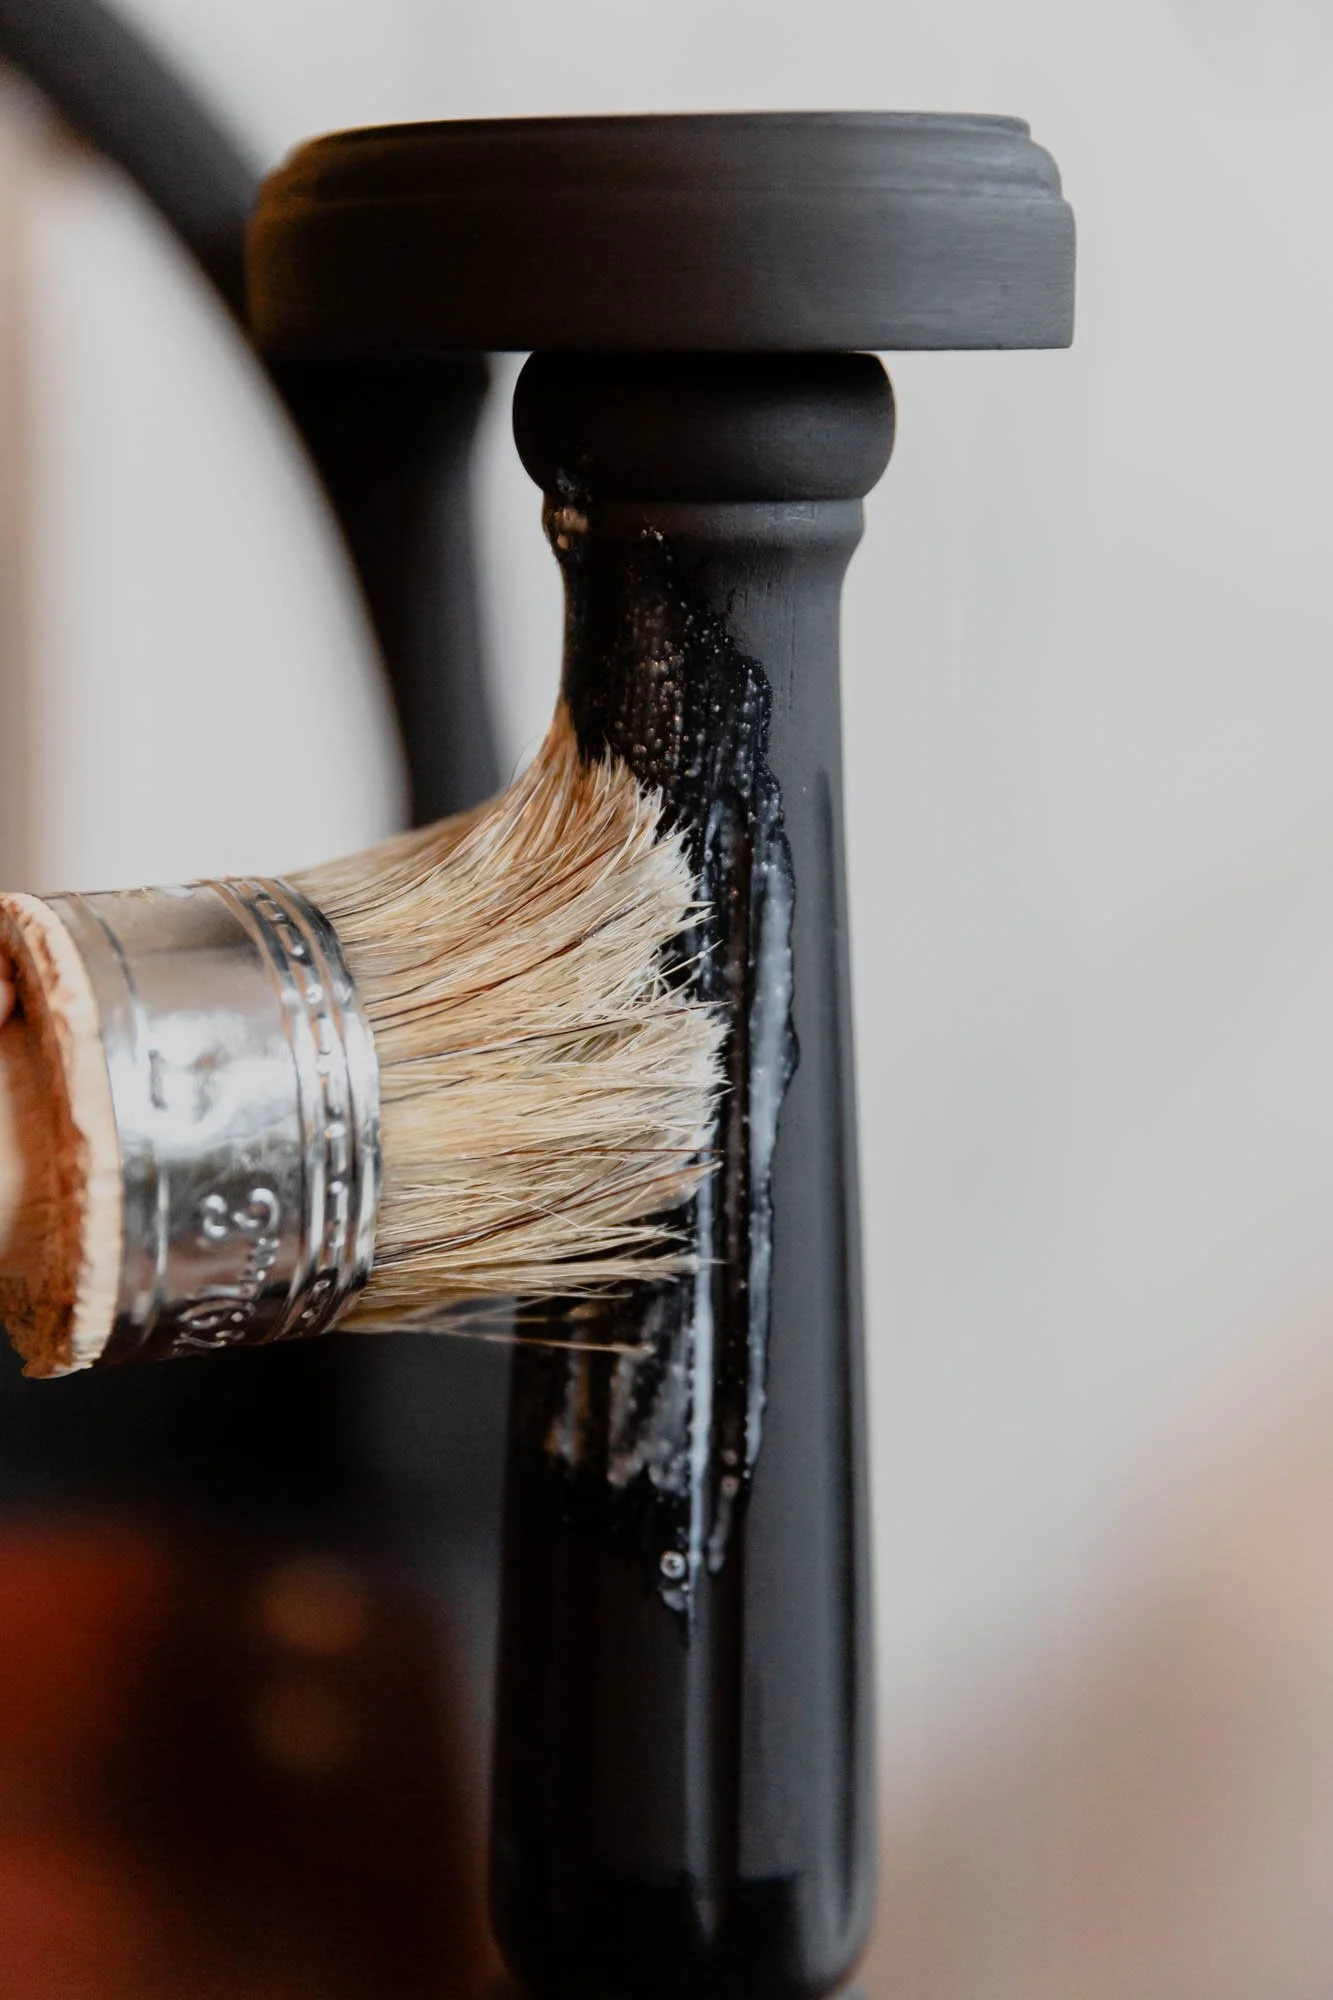
Paint the Wood
At last it was ready for paint! I used a water based paint so there weren't any fumes, however if you are using a hard drying paint or an oil based paint make sure you are working in a well ventilated area.


I grabbed my paint brush and got to work, making brush strokes in one direction to mirror wood grain and letting the paint dry in between coats. Dry time will depend on your paint type. For example, the chalk paint I used dries to touch in about an hour and I let it stand for 24 hours after the final coat.
Last of all, I added a coat of wax to seal in the paint. Using a round brush, I waxed it up the same way I painted it - brush strokes in one direction. It needed to dry for at least another 24 hours (the longer the better).
Upholster the Seat and Back
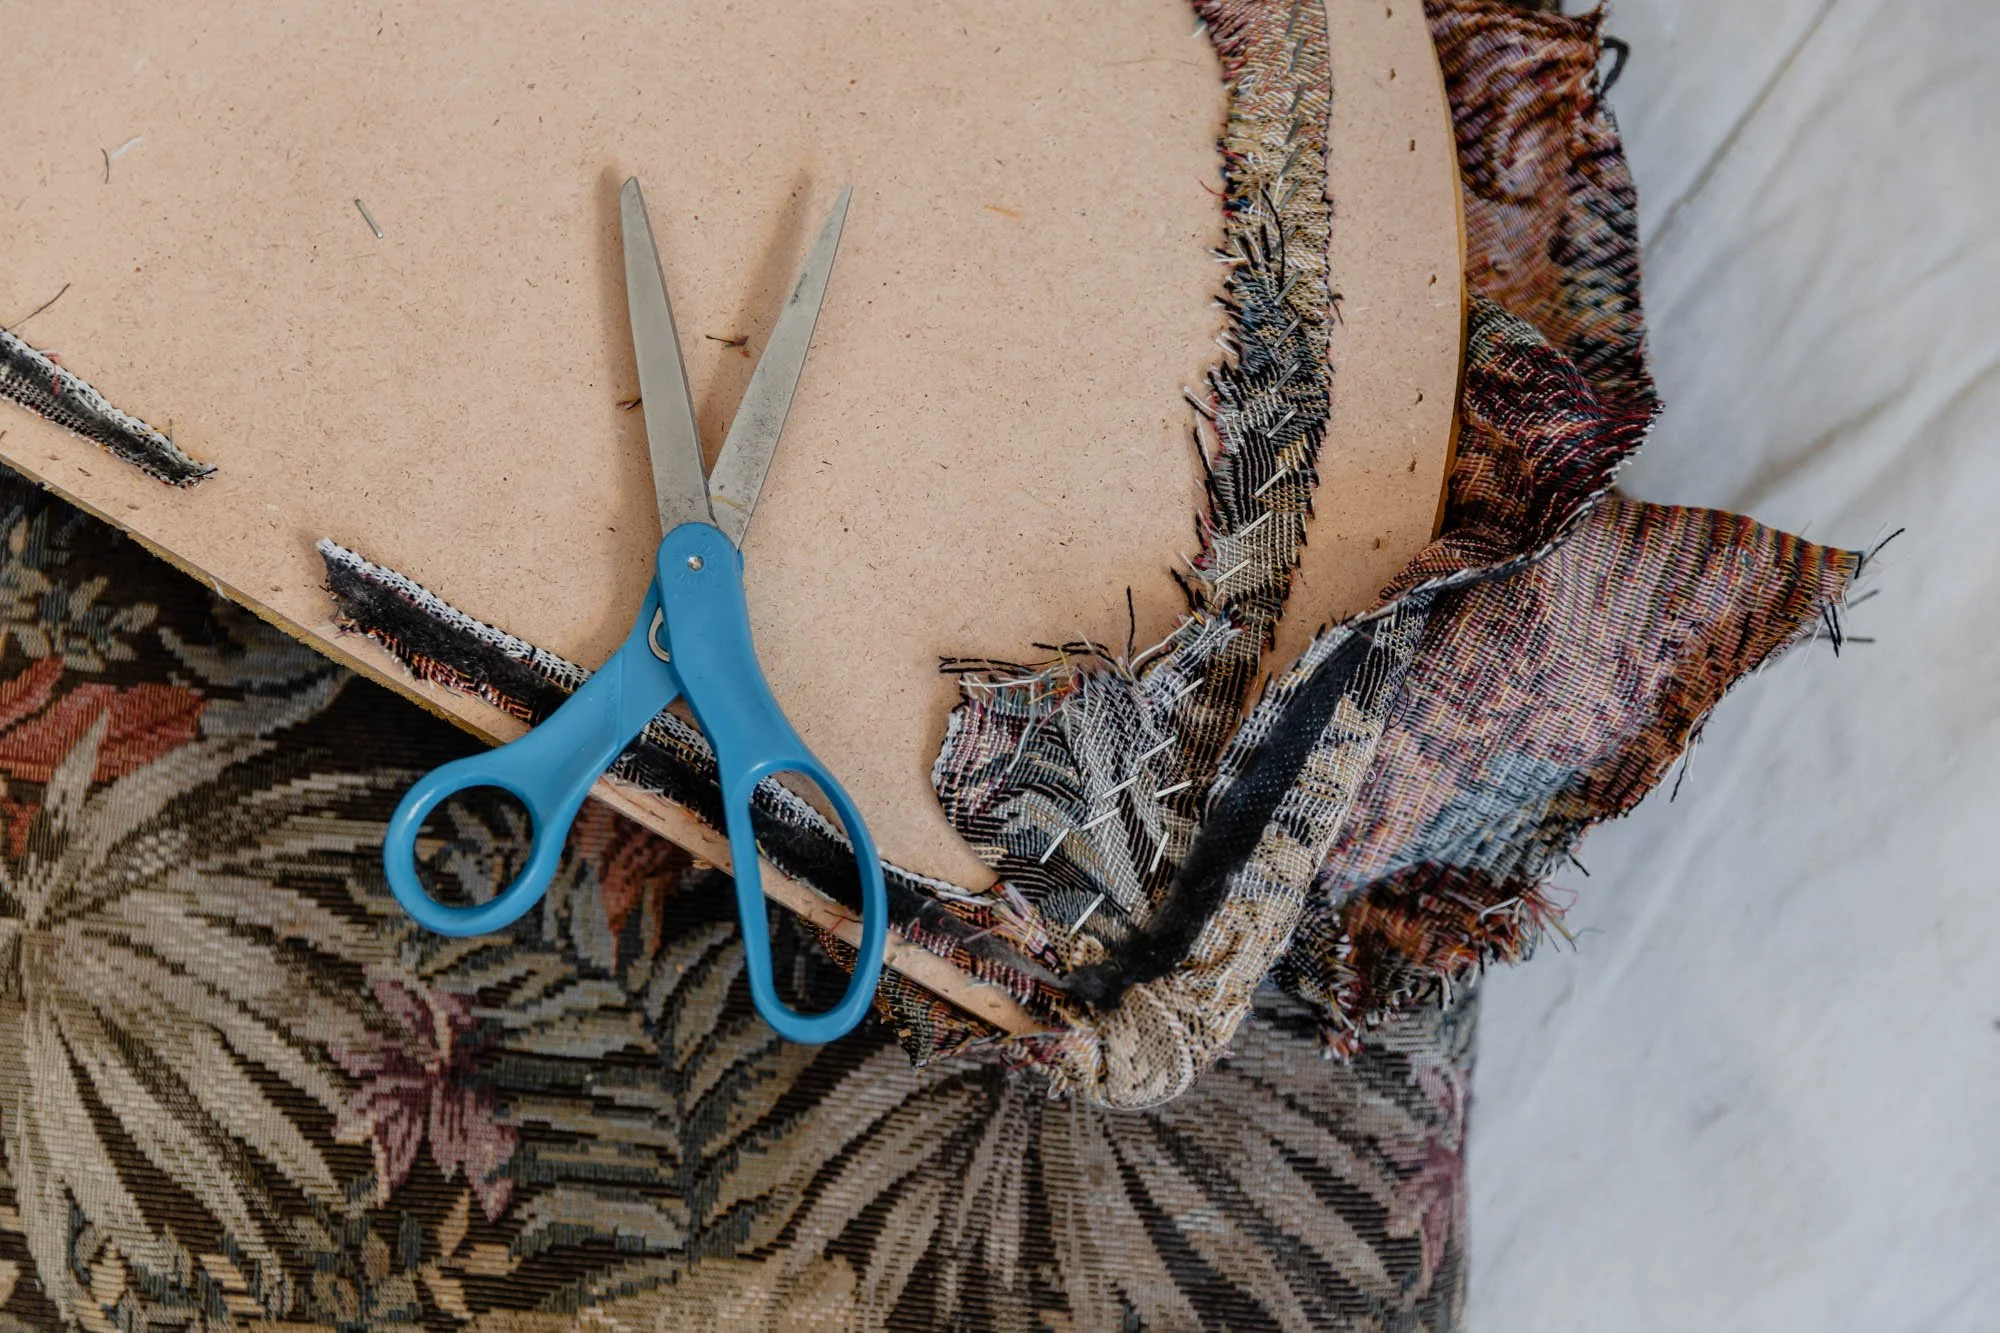
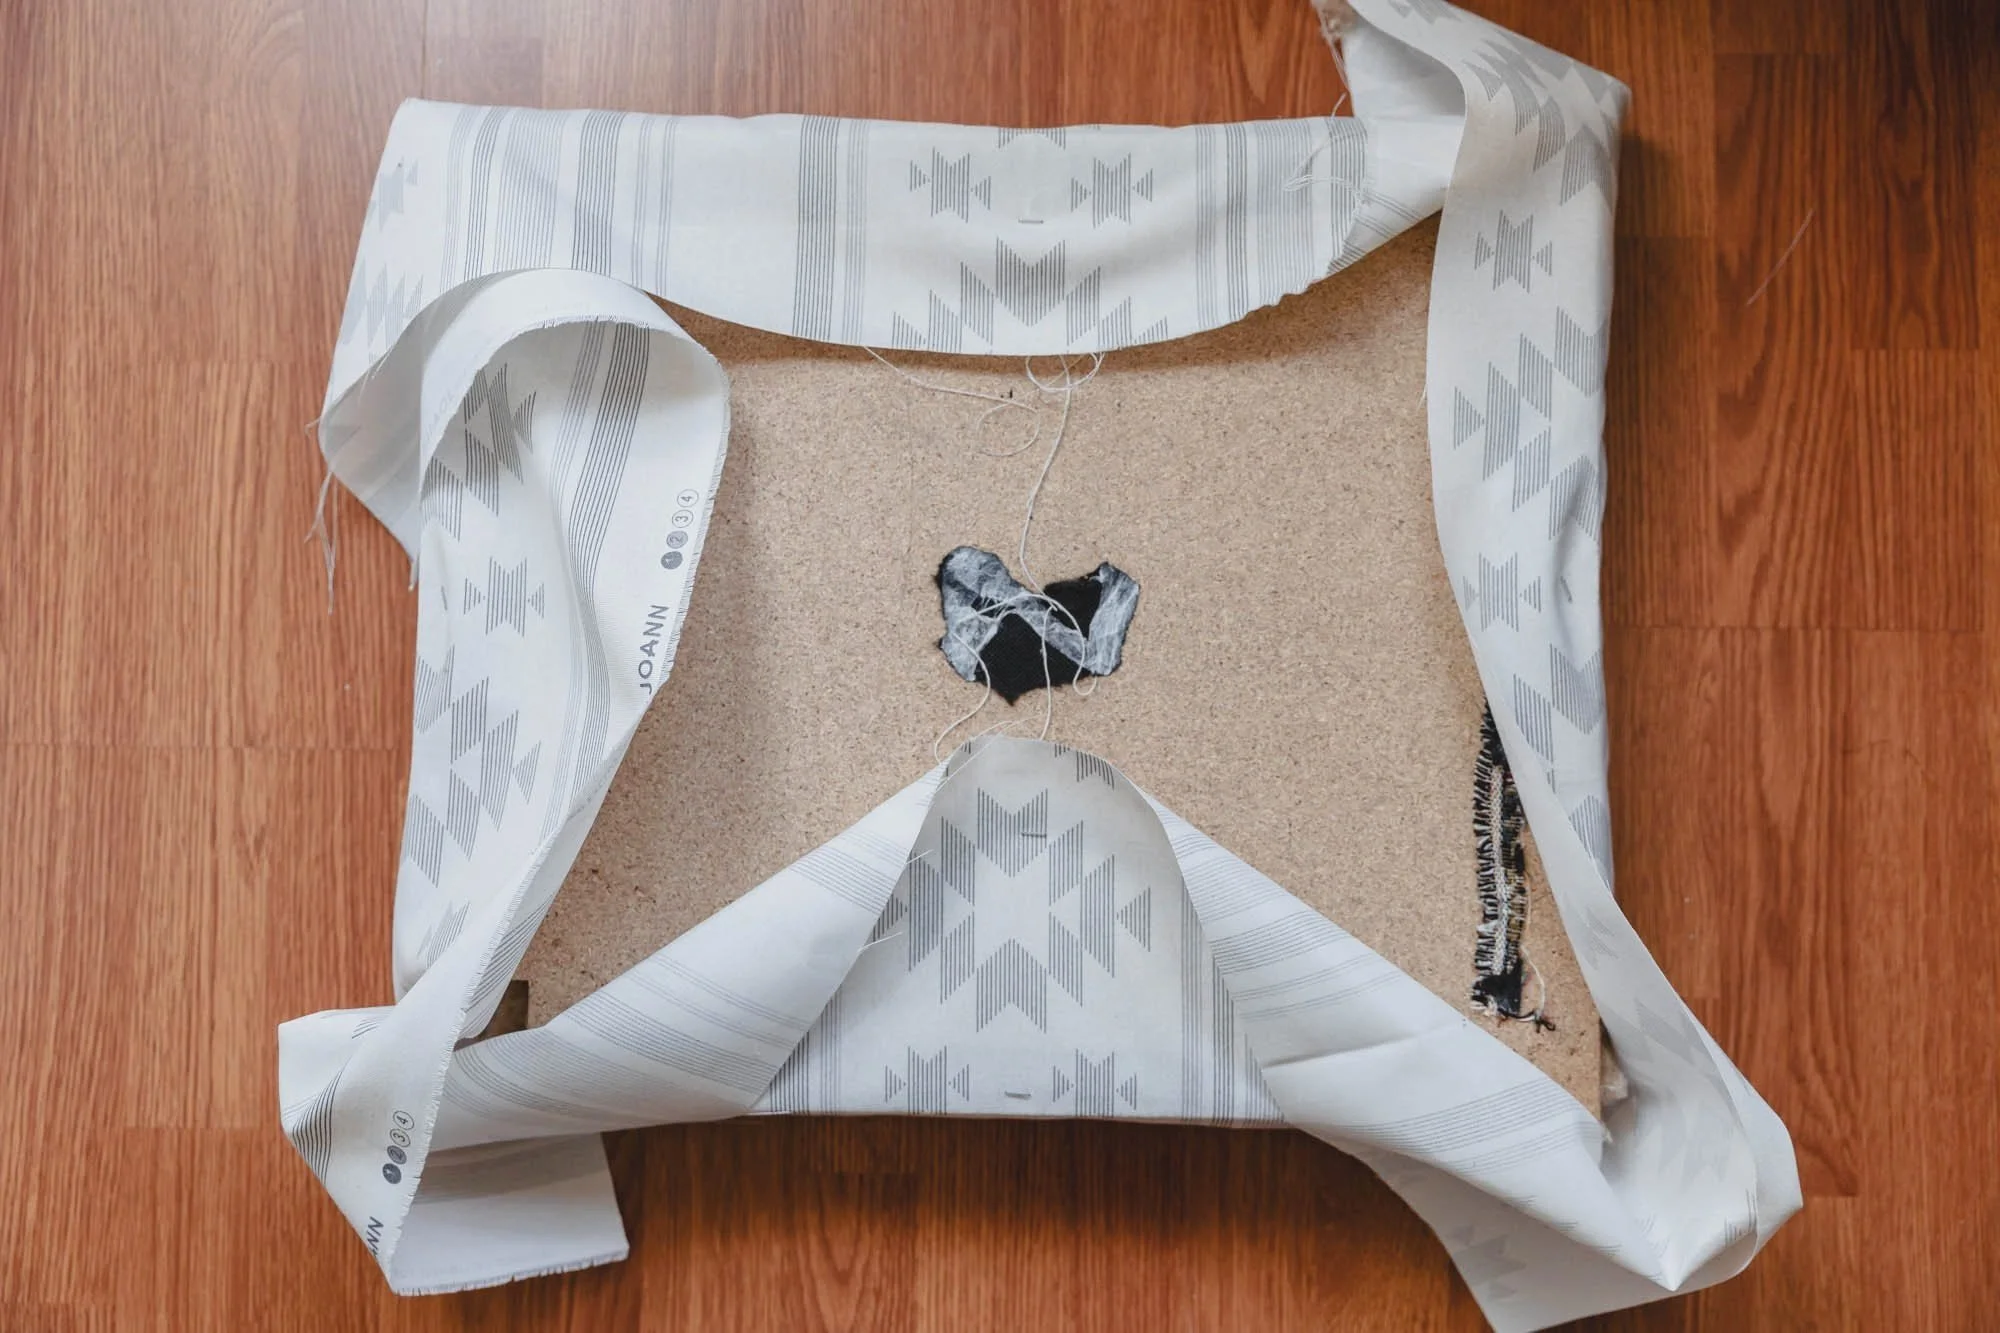
First I removed all of the fabric from both cushions by cutting it away around the staples on the back - I only removed the staples when necessary. This is a trick I learned when I worked at Gil's Upholstery.
Mark Your Center
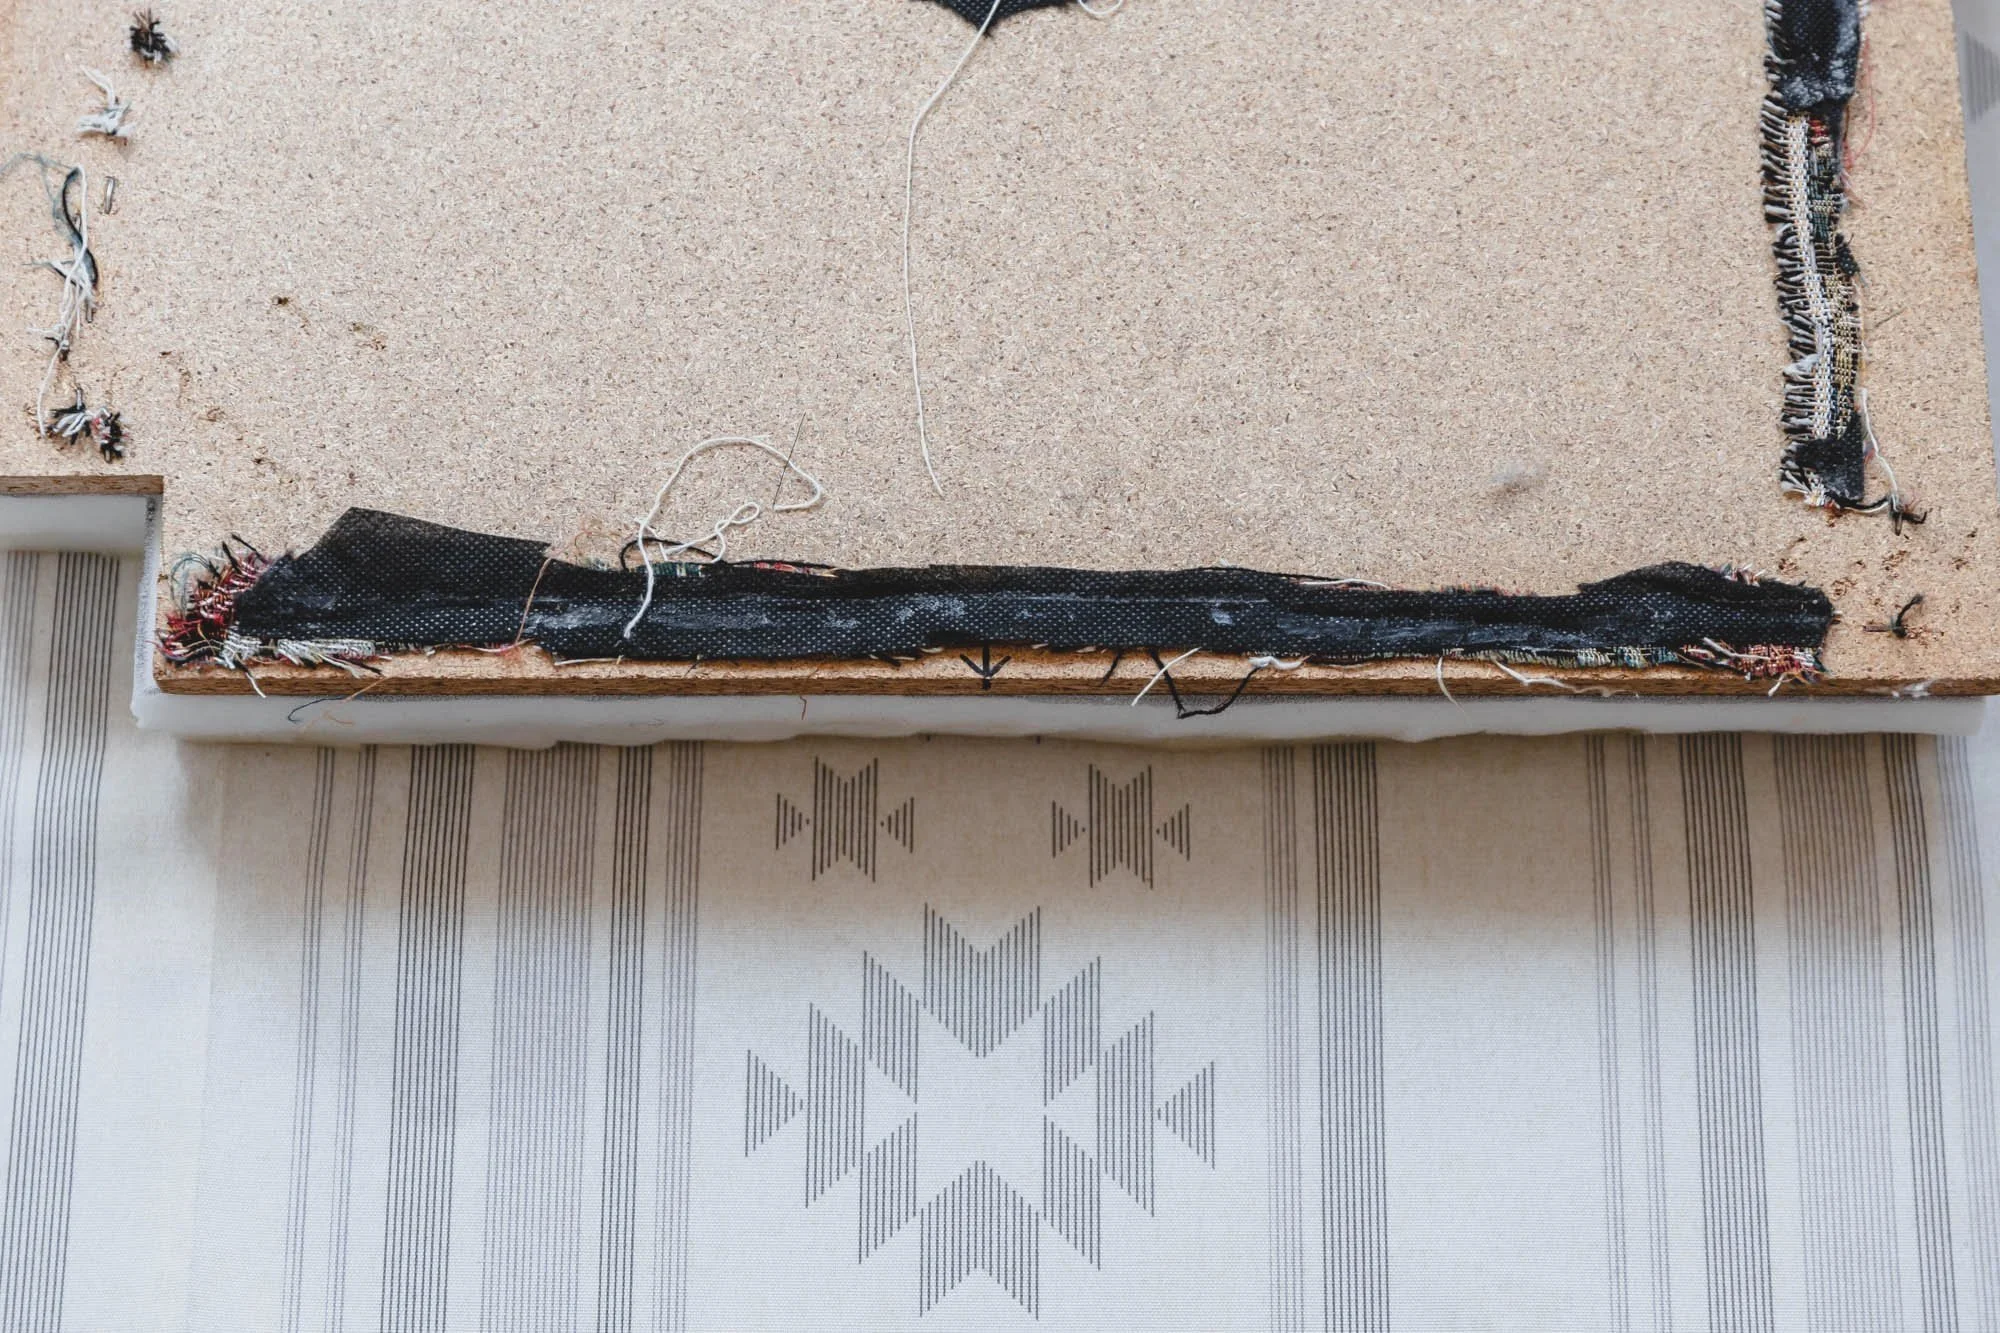
Next I marked the center of both cushions. I placed the cushions on the new fabric, centering the fabric's design with my center mark. Then I cut out the fabric around the cushion, leaving plenty of fabric around the edges to cover the sides and at least four inches underneath.

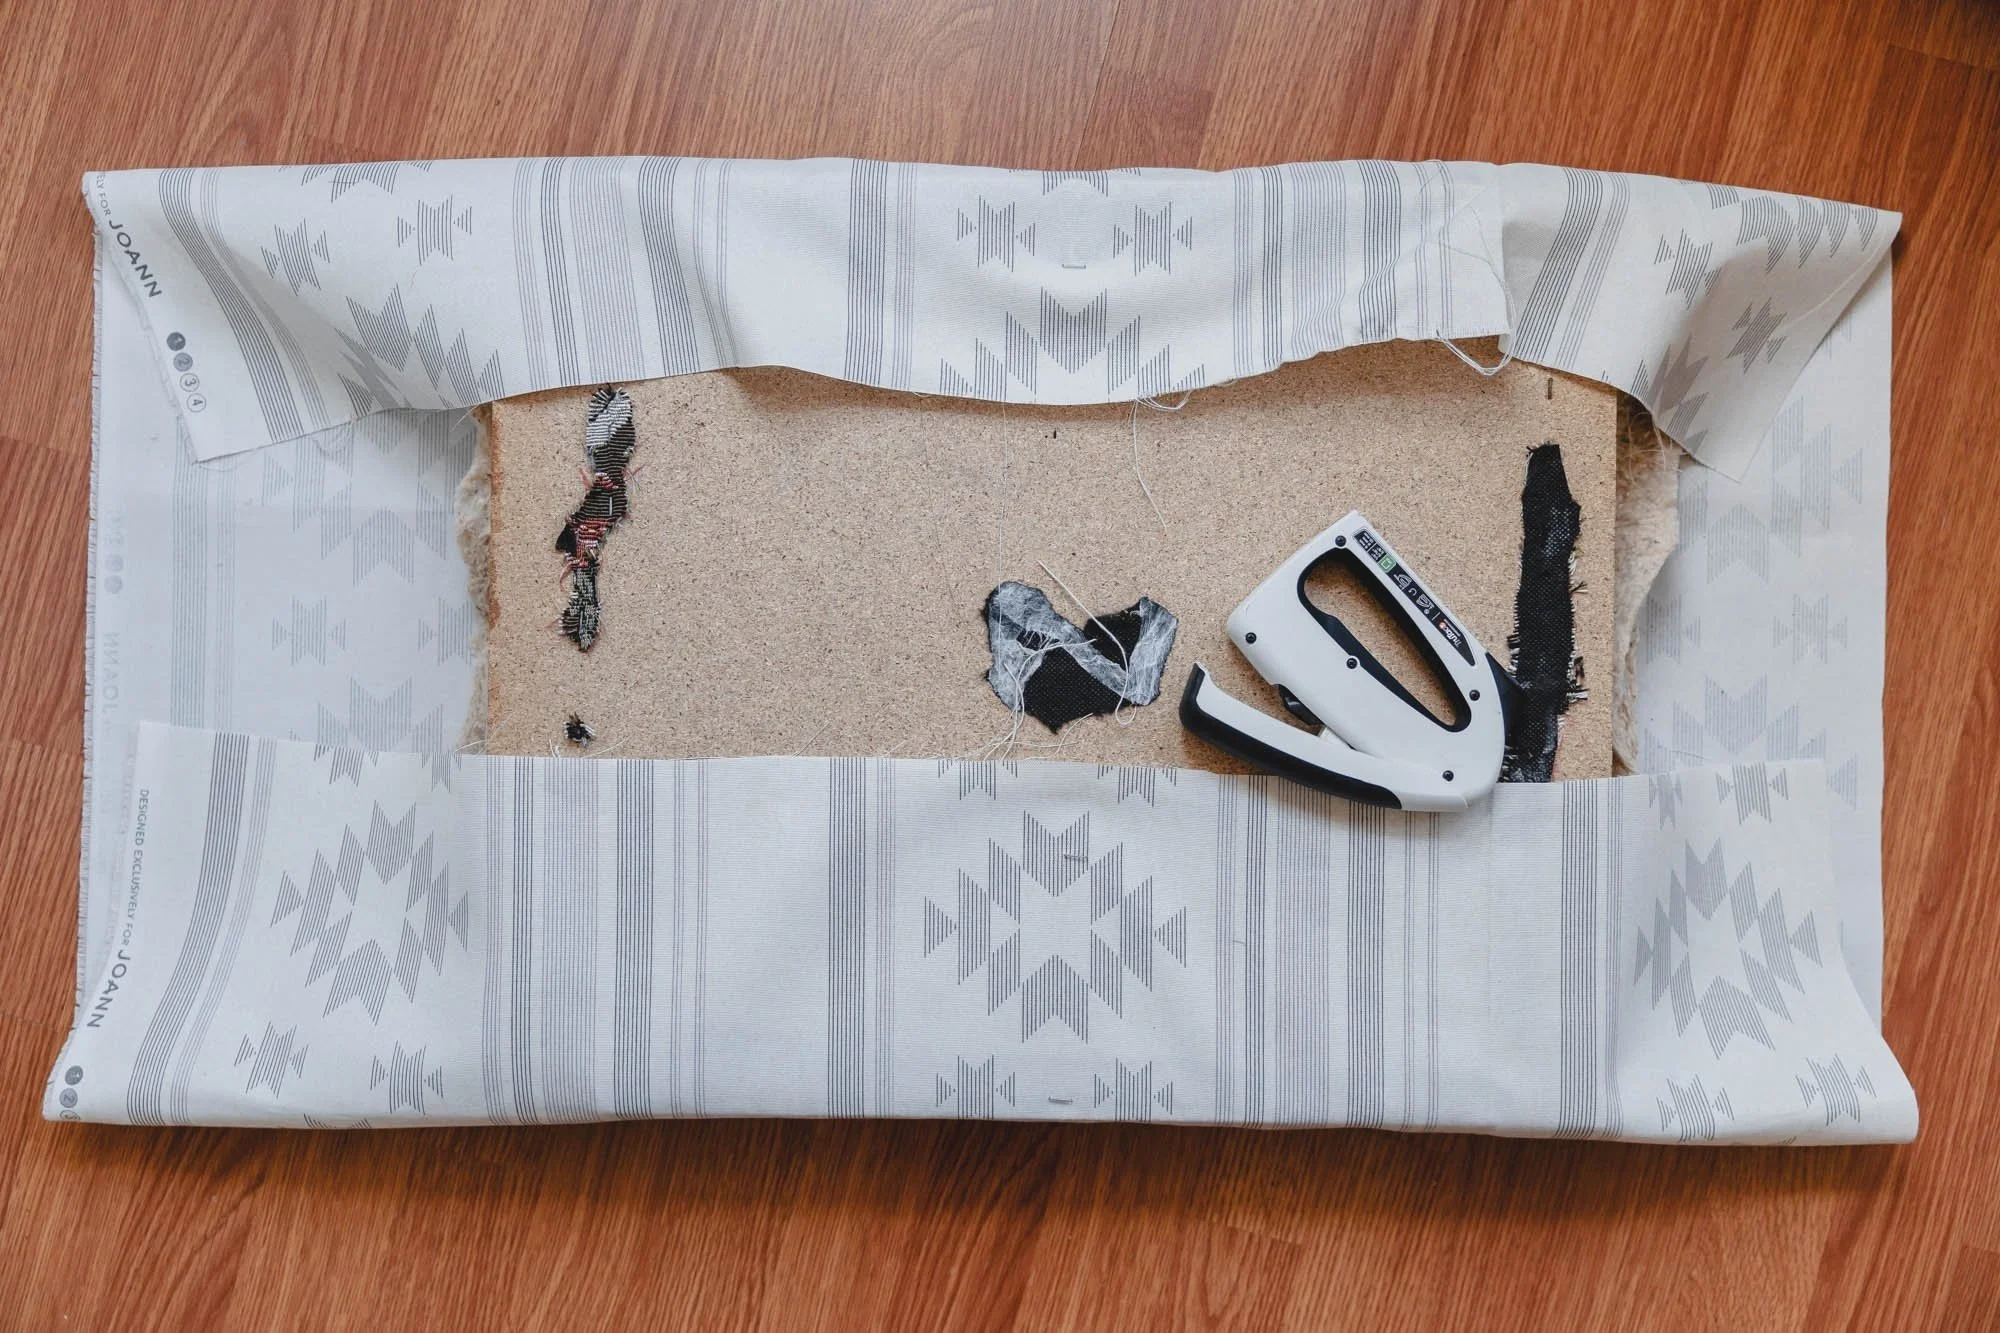
For the seat, I stapled the fabric to the bottom starting with one staple on each of the four sides and pulling the fabric tight as I went. Note: you can always remove the staple if it ends up being too tight or too loose. I made sure to check that the print on the fabric was indeed centered, then stapled down all four sides leaving just the corners.
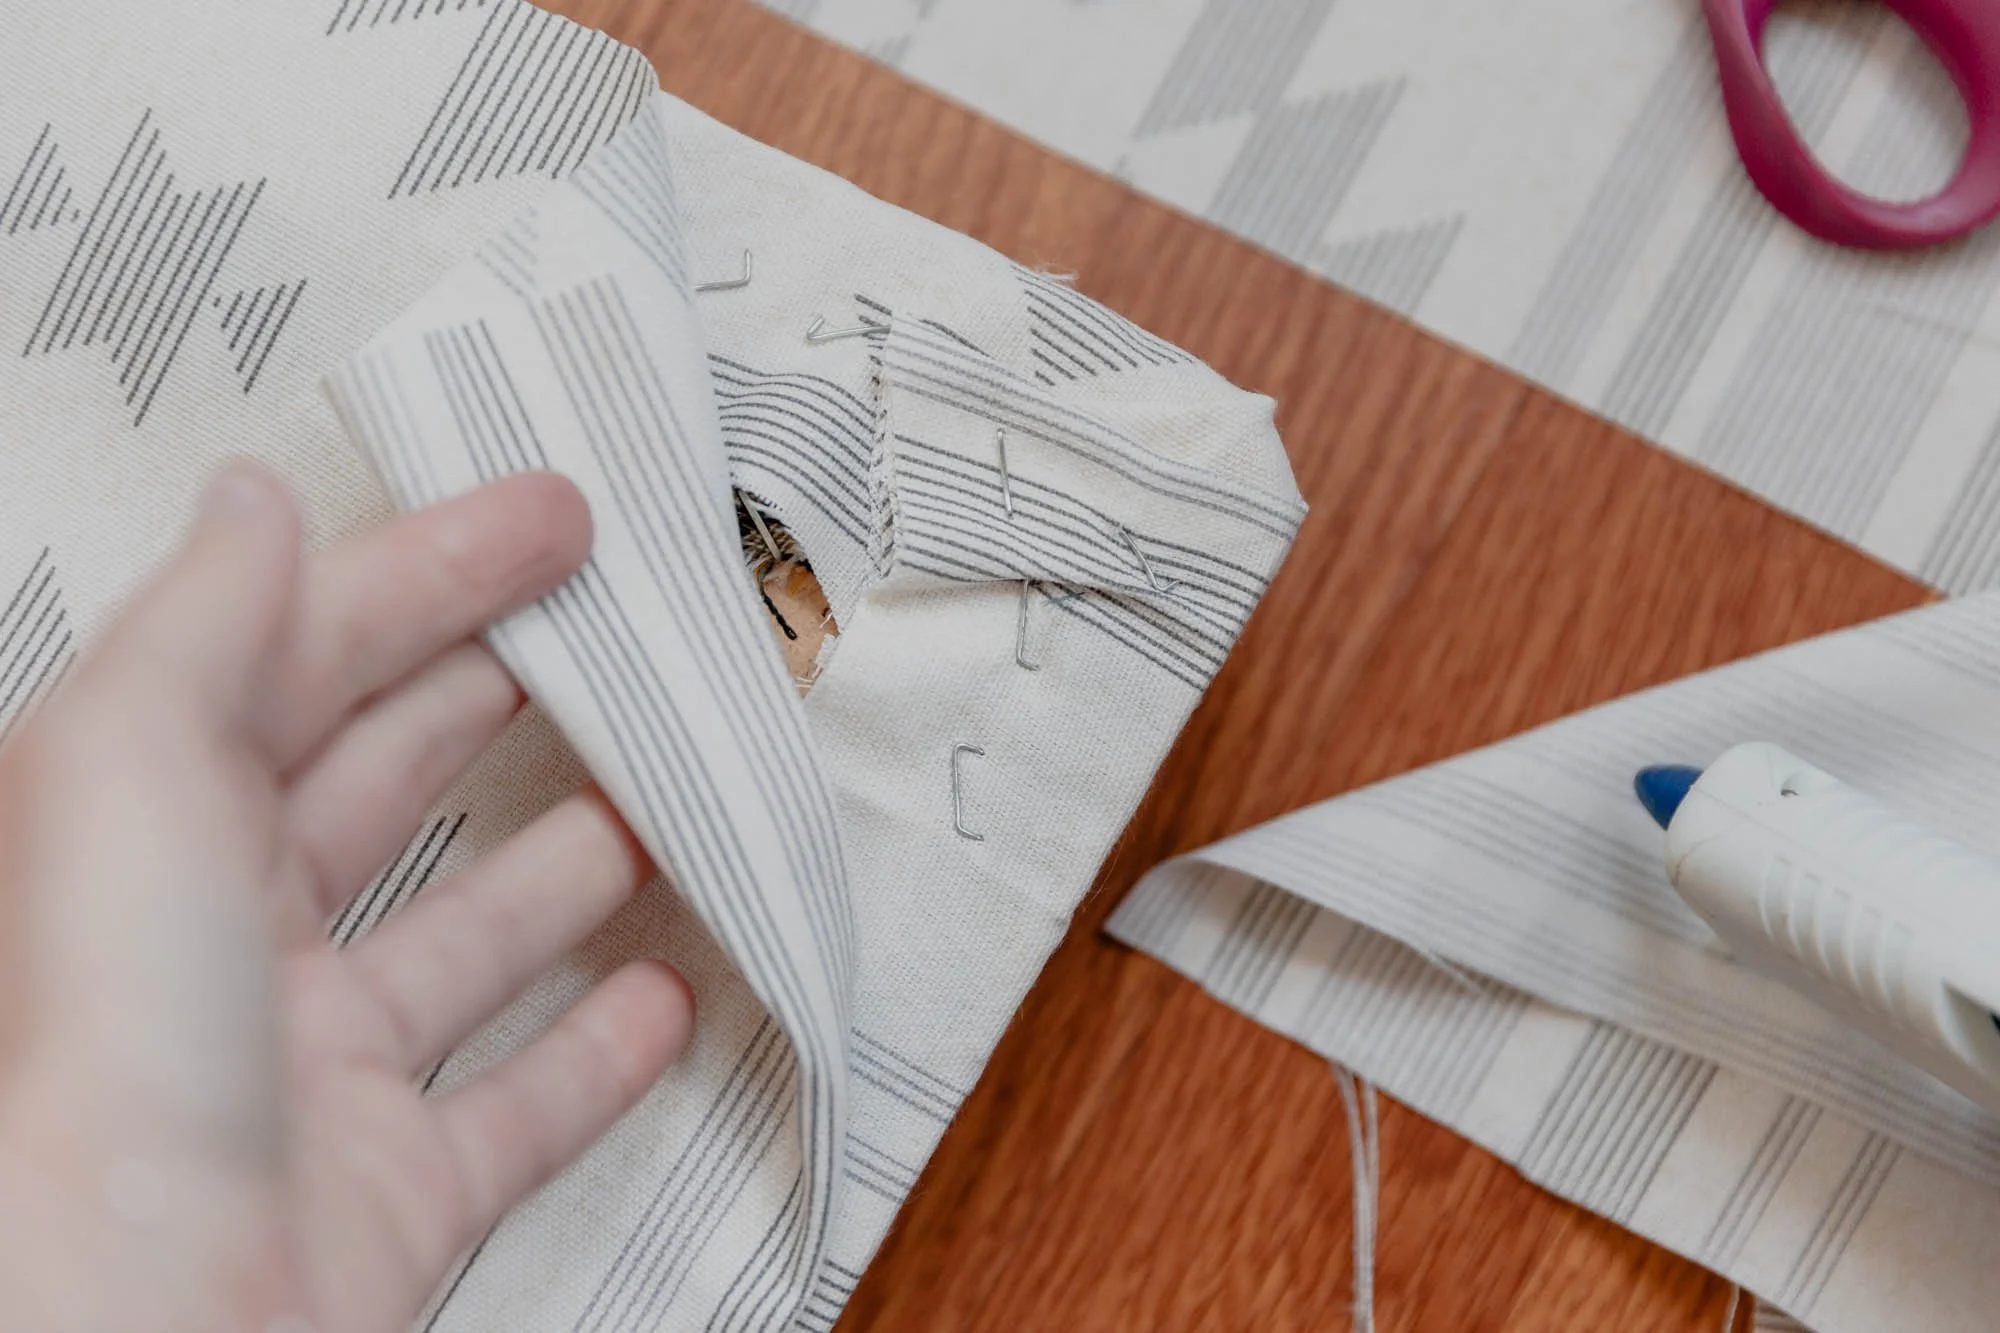
Staple the Corners
With the corners, I folded them down away from the front and back of the cushion and stapled them in place. This took a little reworking to get them to look smooth but that is normal.
Subsequently, I repeated the steps above with the back cushion.

Before cutting off any excess fabric on the pieces, I placed them in the bench to make sure everything was lining up. Once satisfied, I cut off all the excess fabric.
Because the seat back was exposed, I covered the back of the cushion with fabric. For this I just used a glue gun to glue fabric over the back so that none of the staples show. Then I added new nails to secure the backing in place the same way it was originally secured.
Phew, all done! I hope you enjoyed reading along!
- Jessie