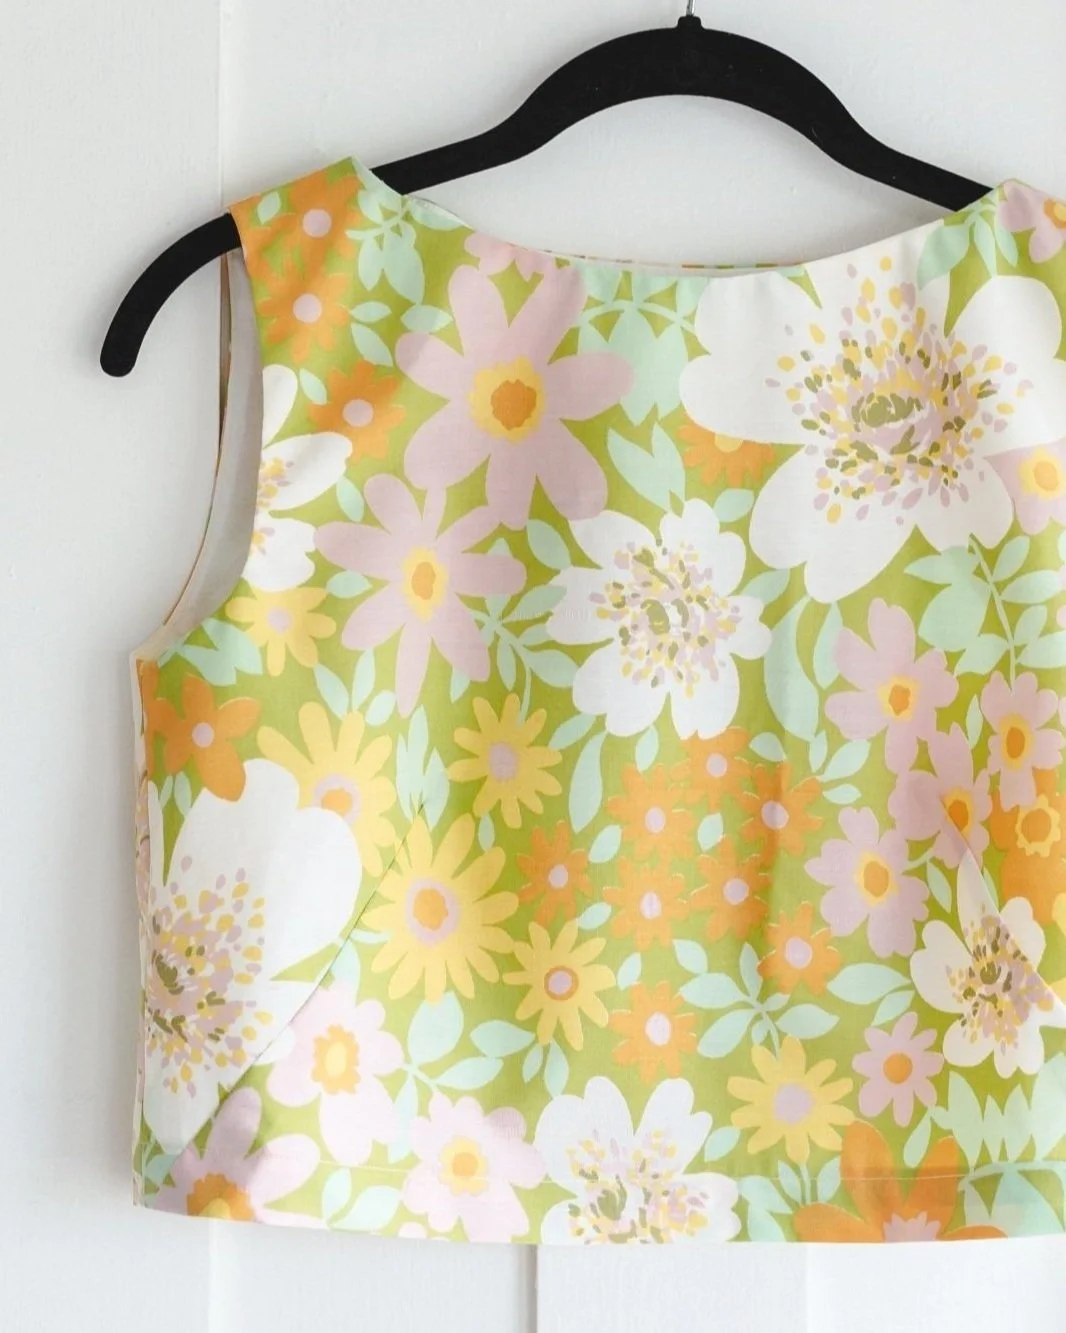
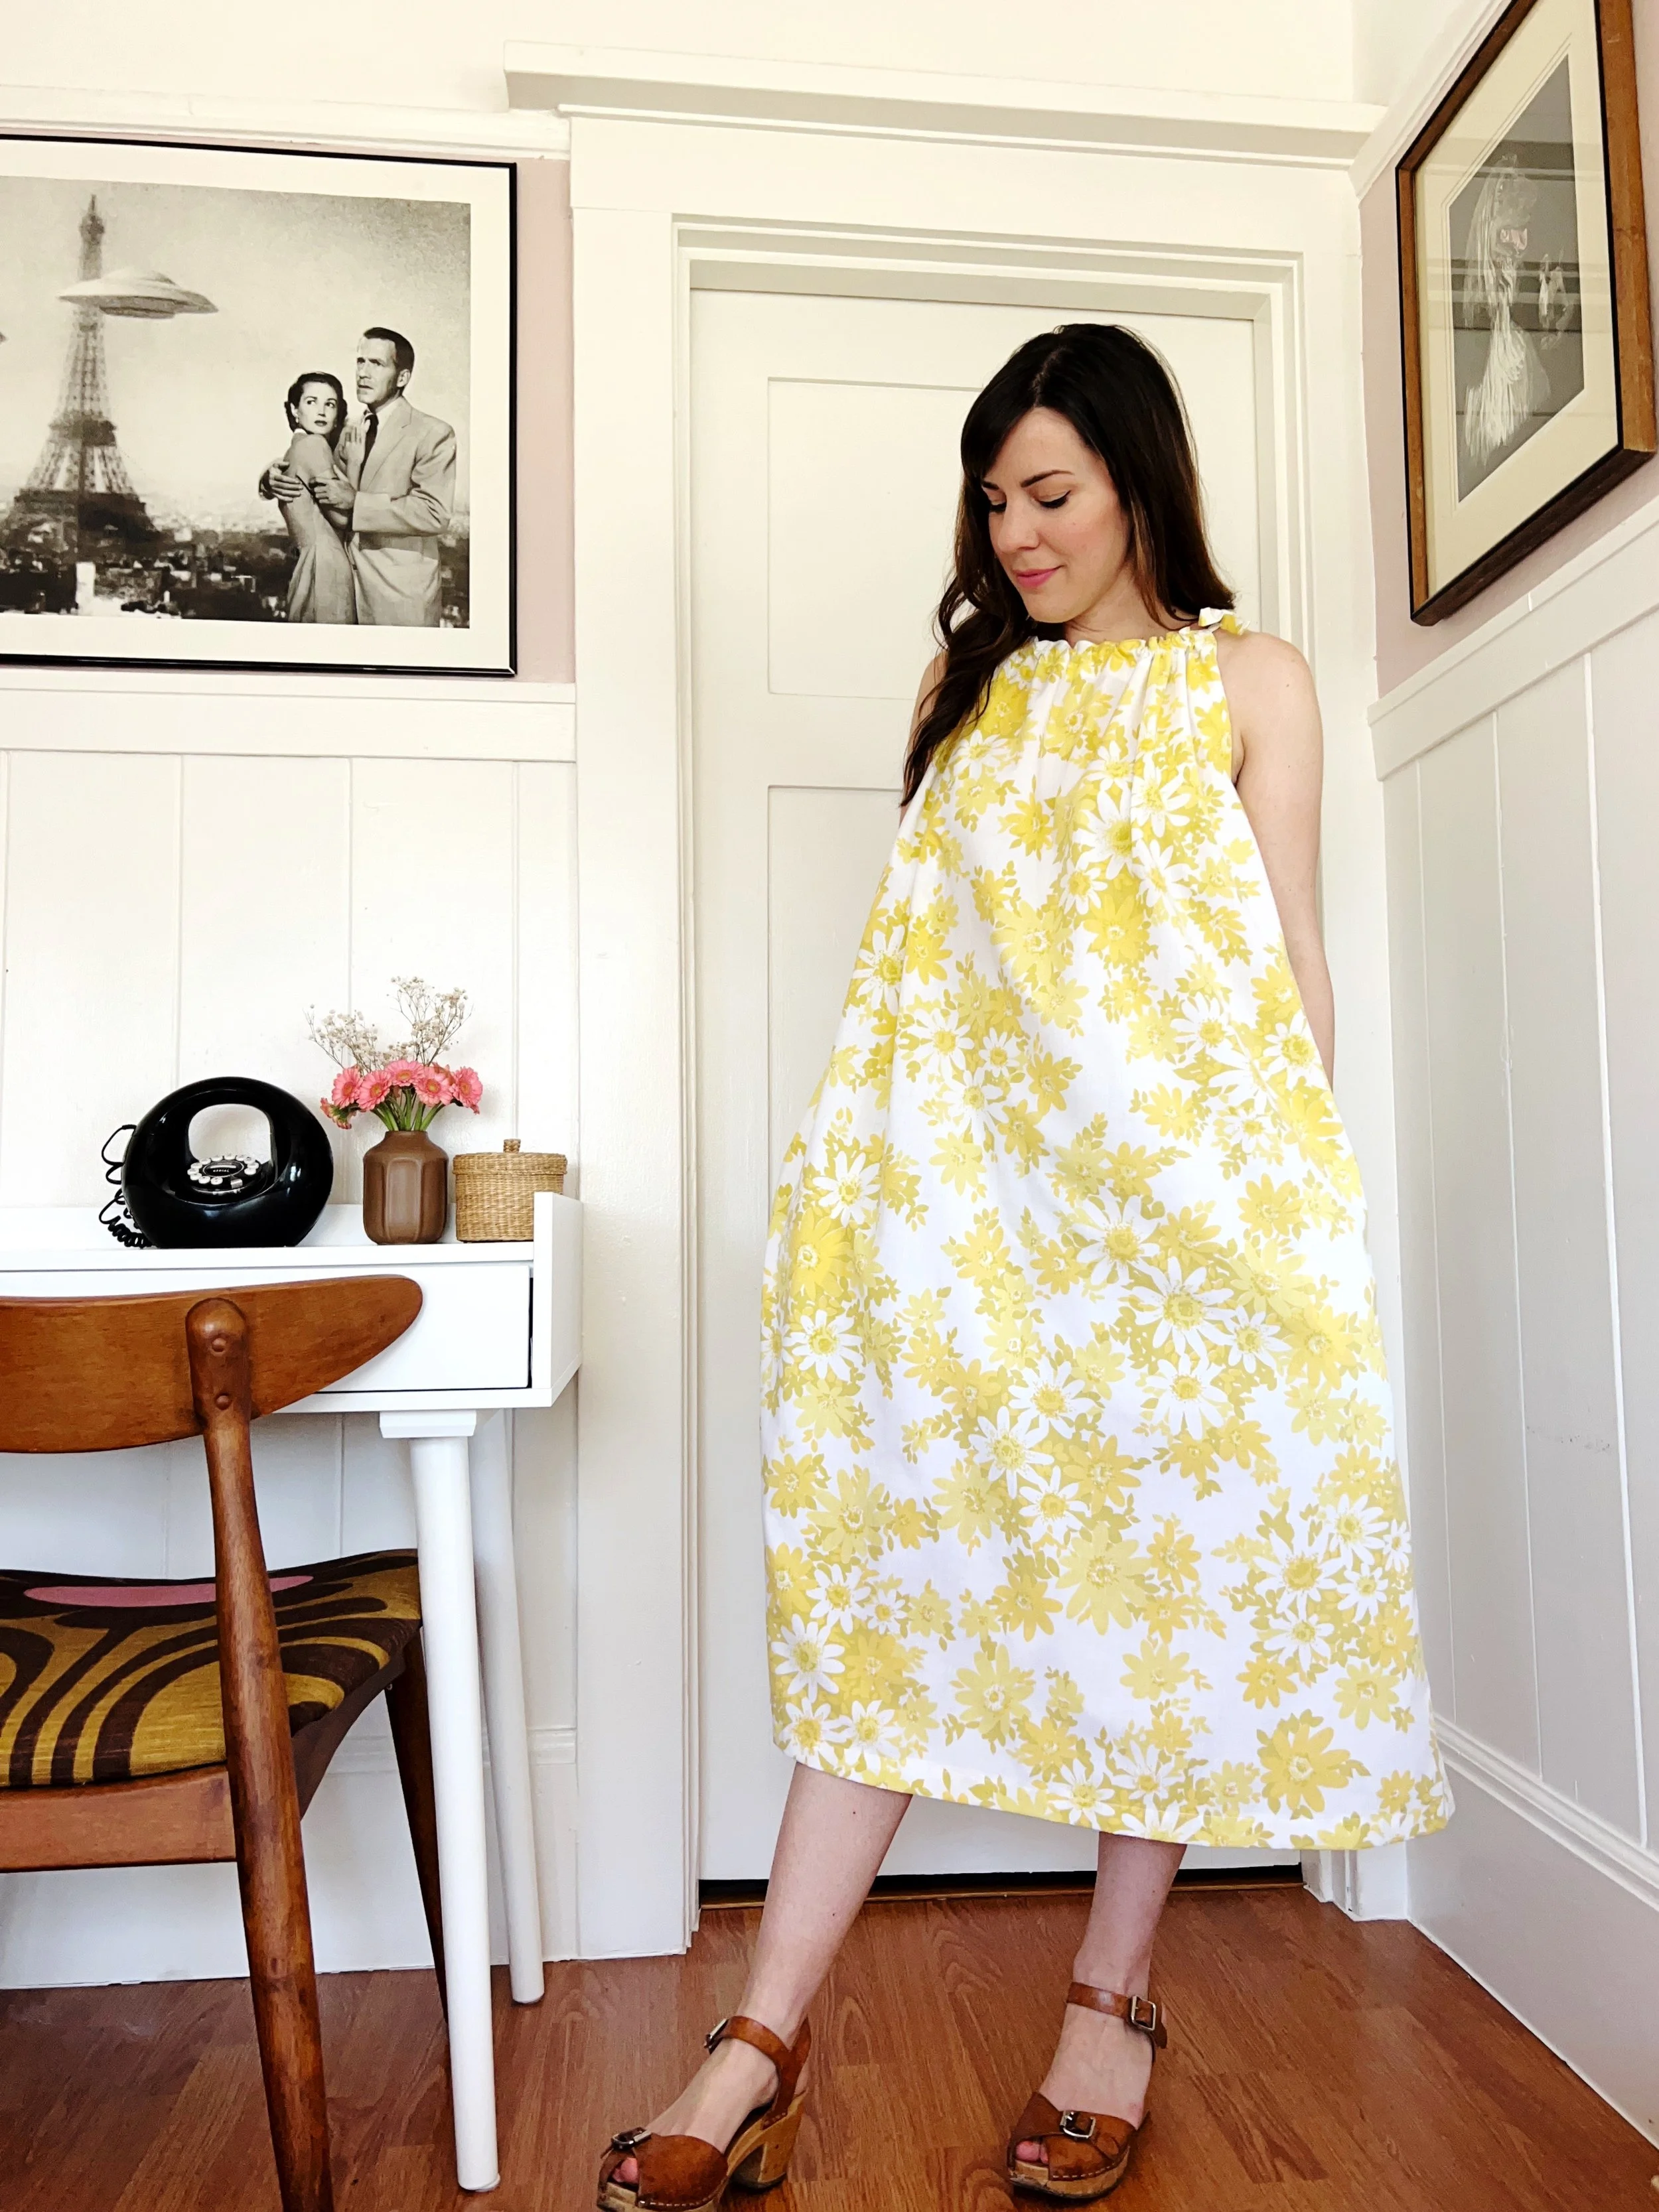
Repurposing a Vintage Sheet into a Summer Dress
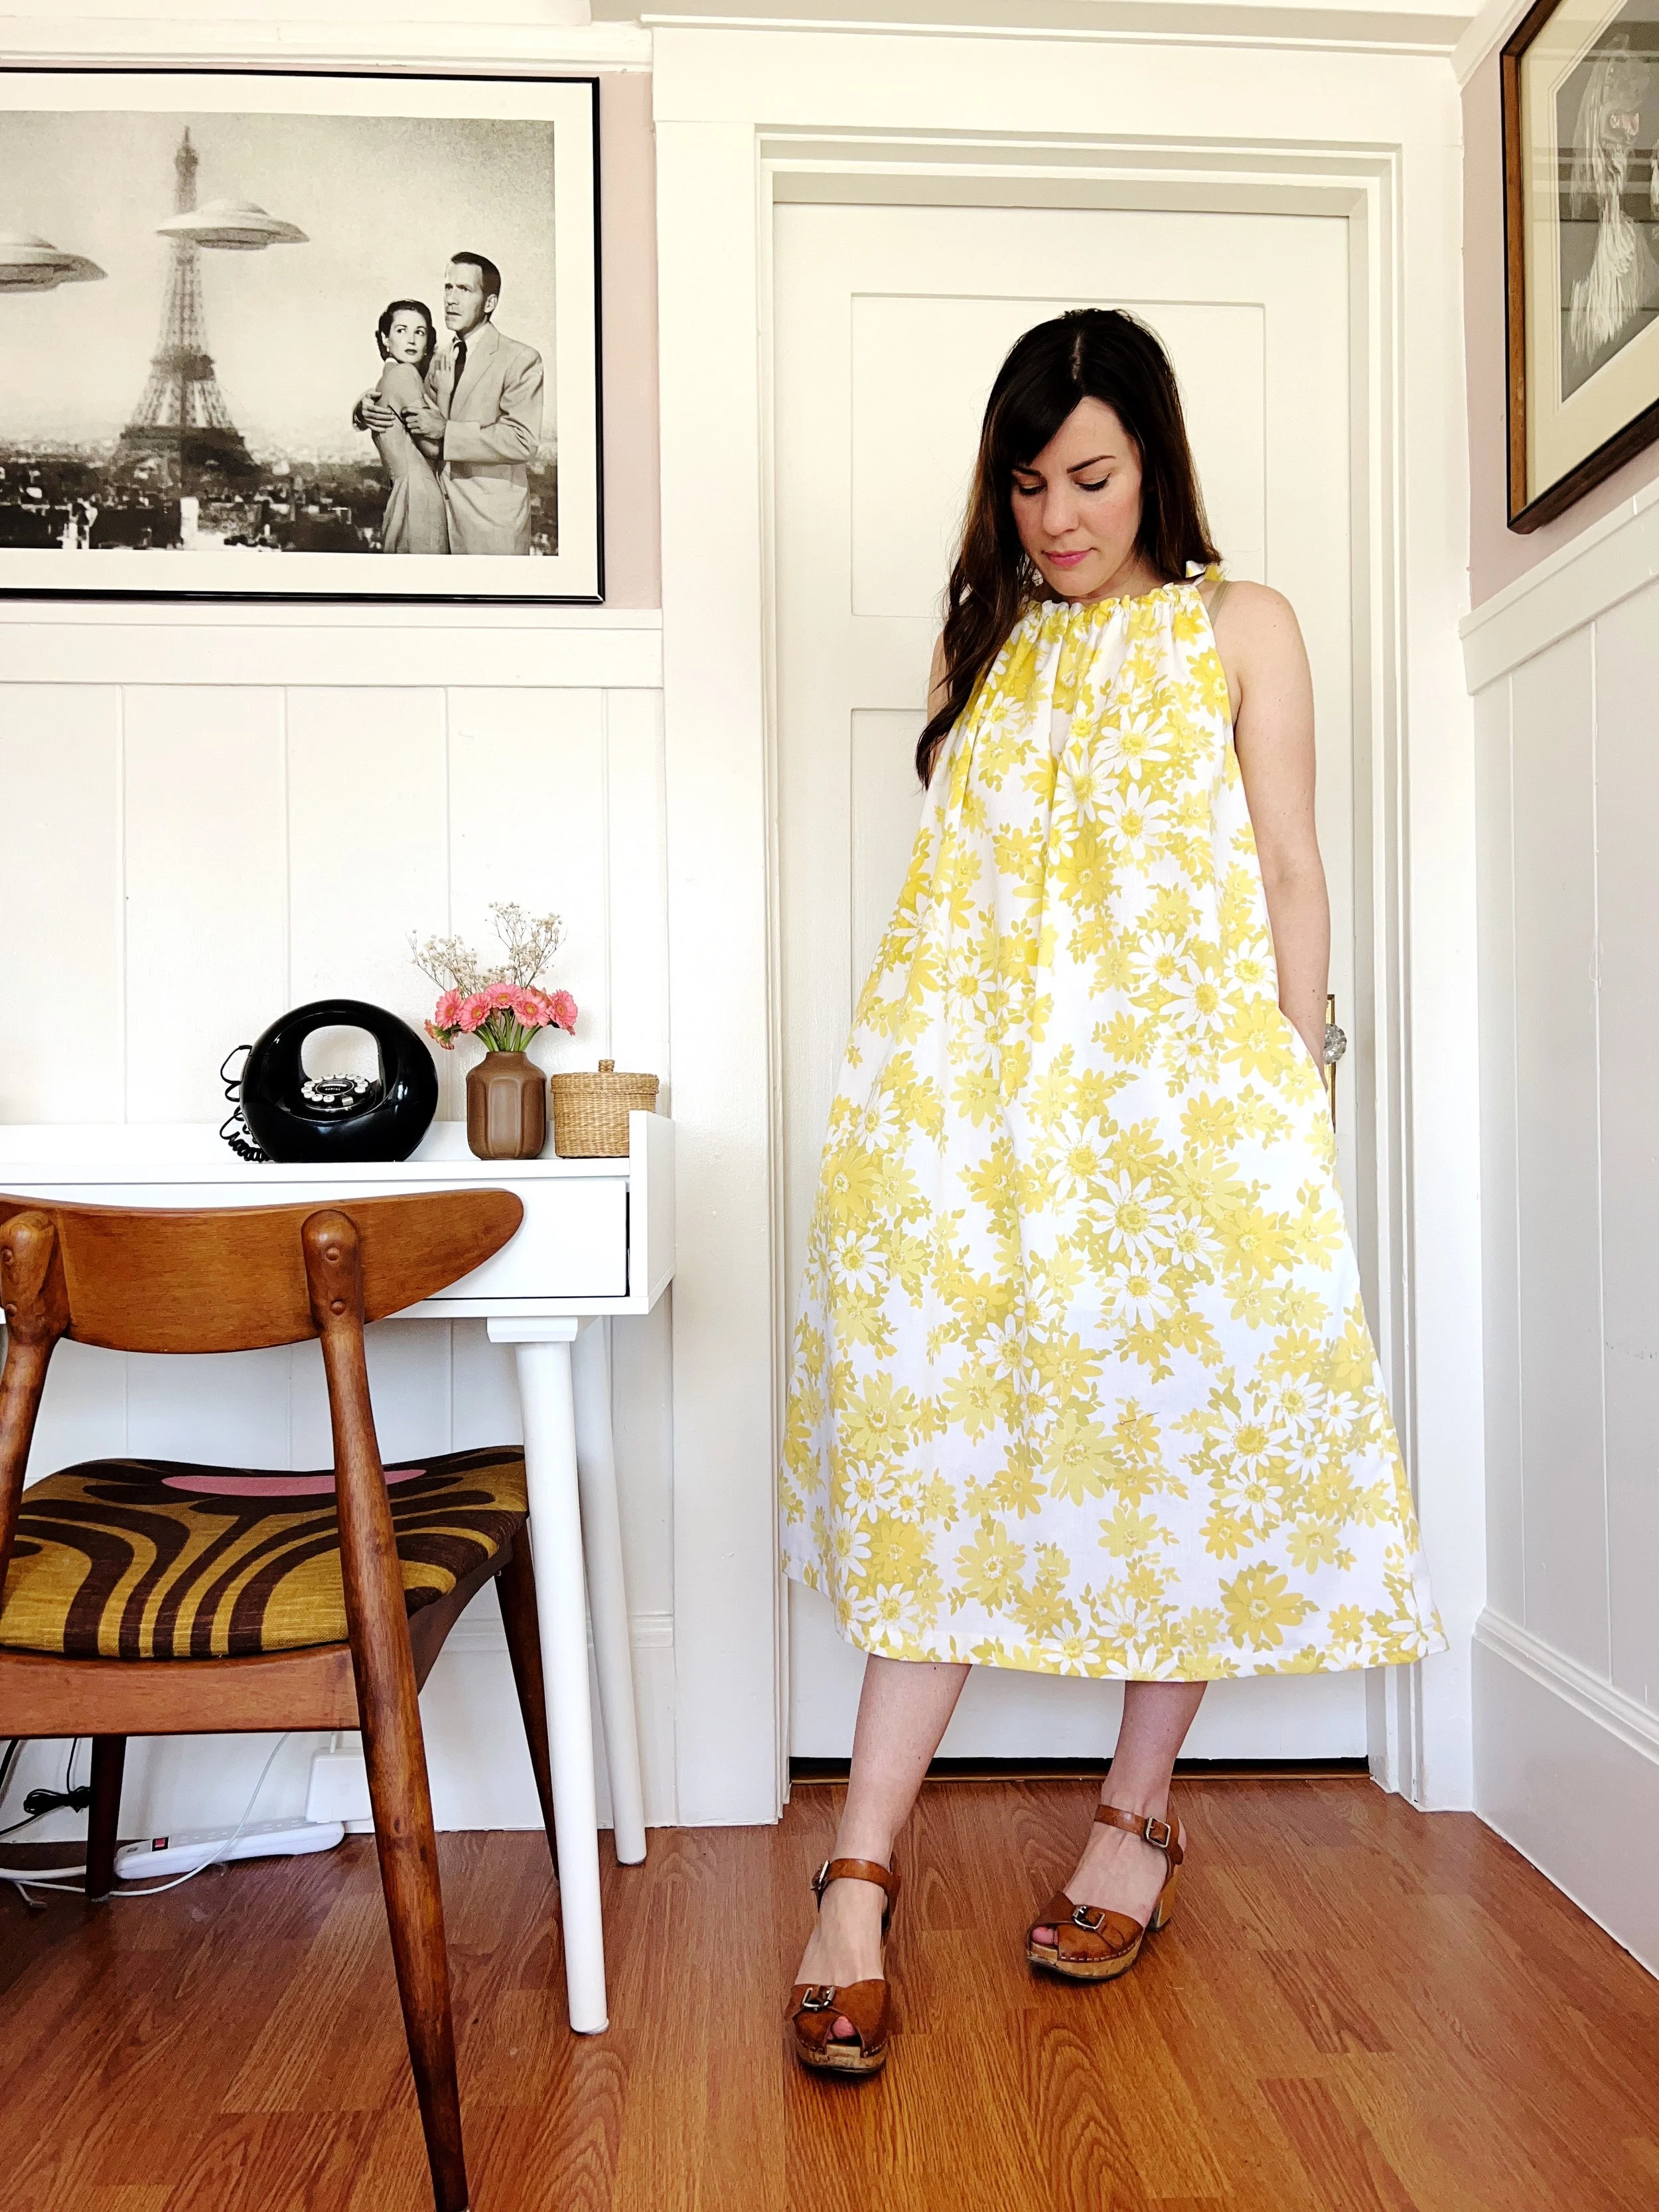
I turned a vintage 1960s cotton sheet into the perfect lightweight dress for summer using McCall’s 6712 vintage quickie pattern. This dress is really easy to make and takes hardly any time. I made it in an afternoon!
Materials for Repurposing a Vintage Sheet into a Summer Dress
Vintage Cotton Sheet - I love sewing with cotton sheets are the perfect material to use for a lightweight and airy summer dress, plus they are wrinkle free!
McCall’s Vintage Pattern 6712 - This is a quickie pattern that was produced in 1963. The pattern is designed for beginners and the directions are very straightforward and simple. You can find this pattern for sale on etsy and ebay.


Variations
Adjust the Hem - One of the cool things about this pattern is that it doesn’t have structure, so it’s really easy to adjust the hemline to suit your taste. It would be so cute as a maxi or a mini!
Add a Belt - I chose not to make the belt for this dress because I wanted something loose fitting, however there is a belt pattern included, or you can make a waist tie using the exact same method as the shoulder straps.
Linen or Silk - This dress pattern would also work well with linens or silks.
Tips
Spot Check - Glance over your sheet for any spots and make sure you avoid them when you lay your pattern pieces out.
Adjust the hem prior to cutting out your fabric - If you need to make longer or shorter hem adjustments, do so before you cut out the fabric. Measure from your shoulder to where you want the hem to sit when finished, then add 1 1/2 inches onto that number for the hem fold. Then you can either fold the pattern to that length or extend the pattern using a ruler and marking the fabric with chalk.
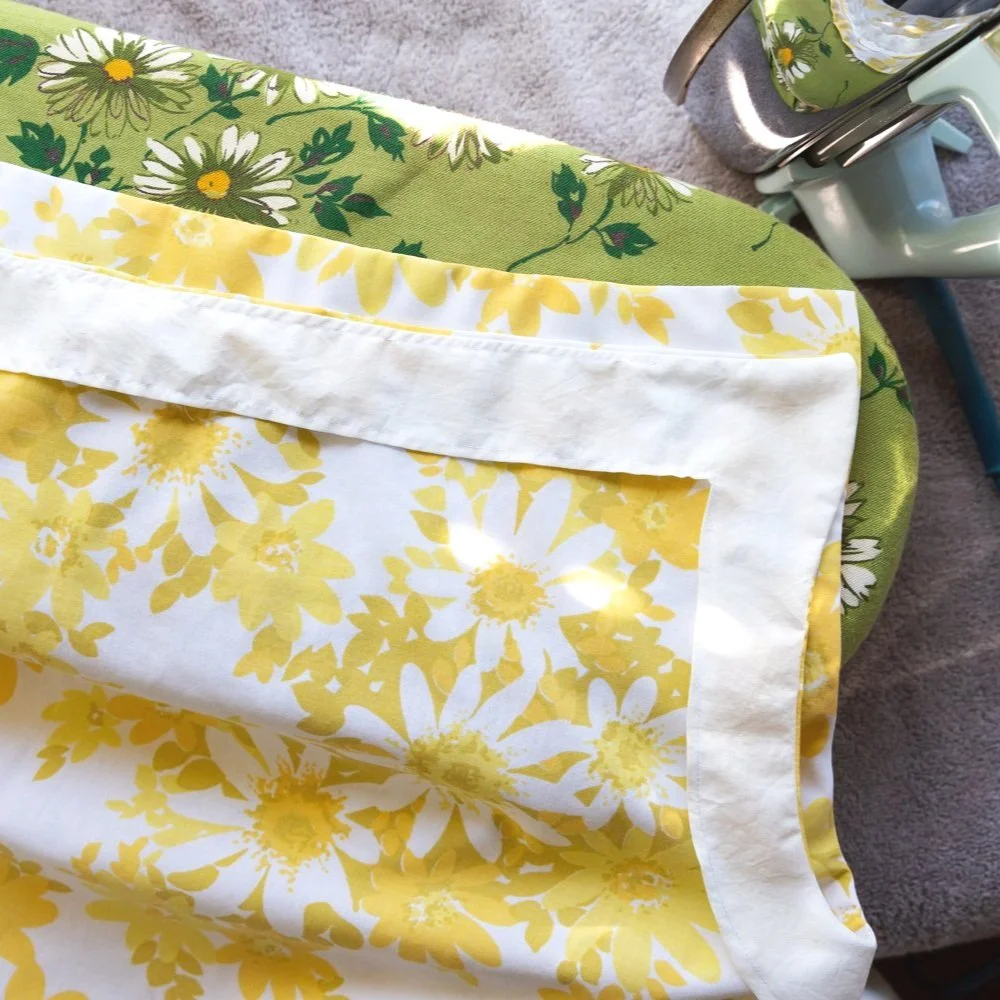
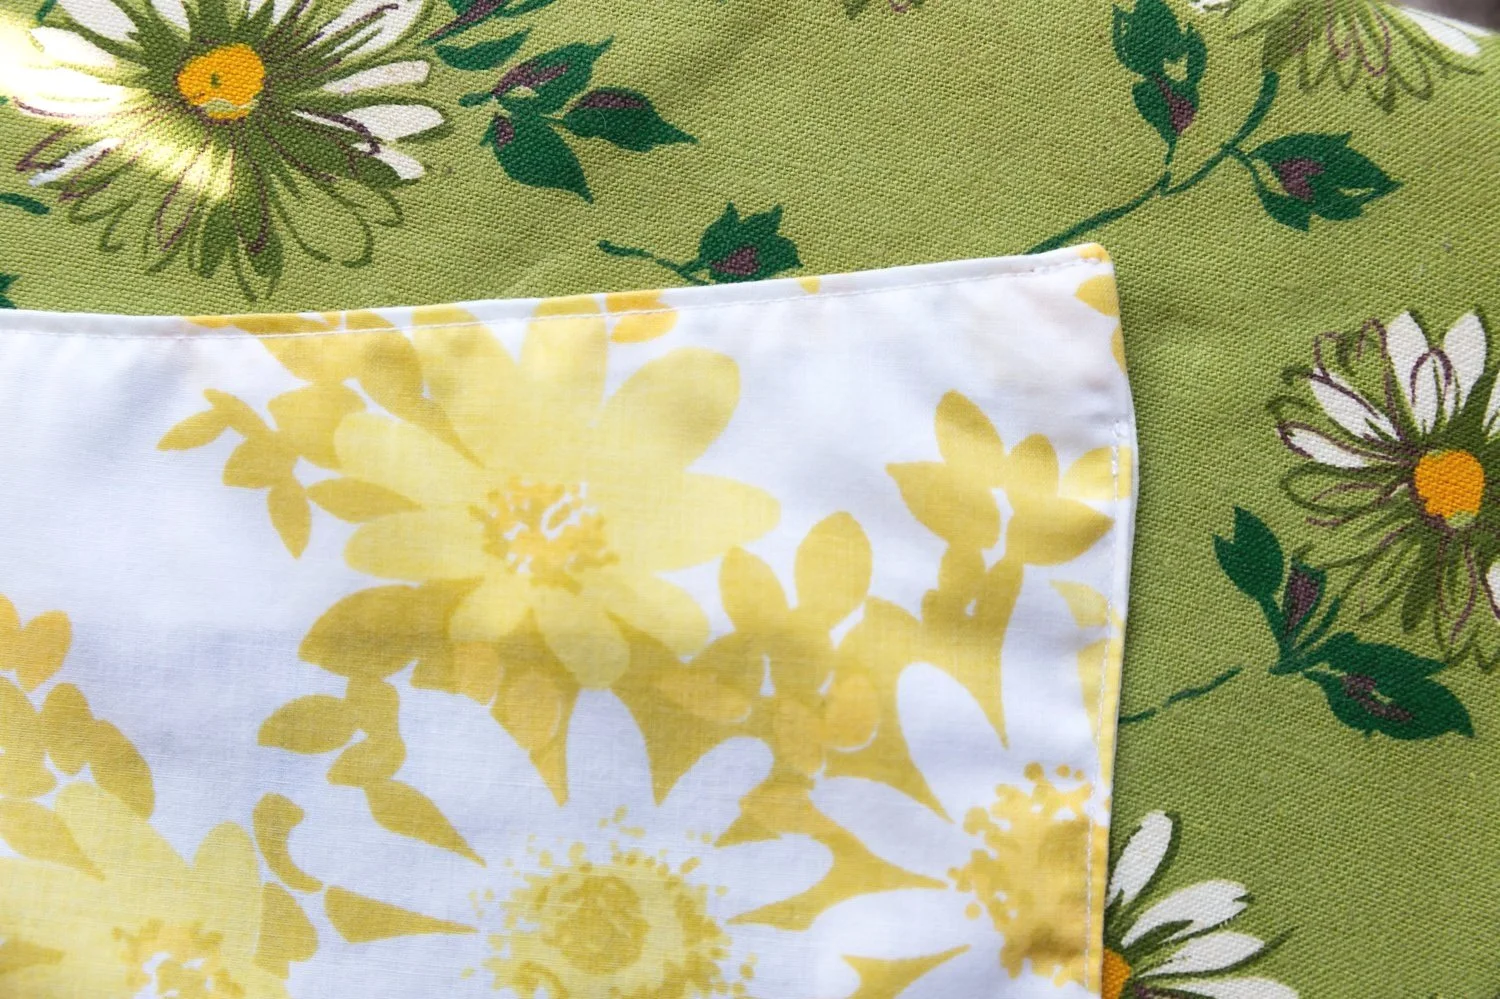
Use White Cotton for the Facing - My vintage sheet is a little sheer, so I chose to use a white cotton for the facing because I wanted to avoid another pattern showing through. This is totally optional, it will work just as well if you use the sheet fabric, just keep in mind that a little of the pattern might show through if you have a semi or sheer sheet.
Adjust as You Go - I recommend trying the pieces on as you sew to make sure everything is fitting properly. It is much easier to make adjustments before the piece is complete.

More Sewing Projects
How I Made a Crop Top for Under $20
How to Repurpose a Vintage Sheet into a Summer Dress
Supplies
Vintage sheet or fabric of choice
McCall’s pattern 6712 (you can use a different sewing pattern if you prefer another)
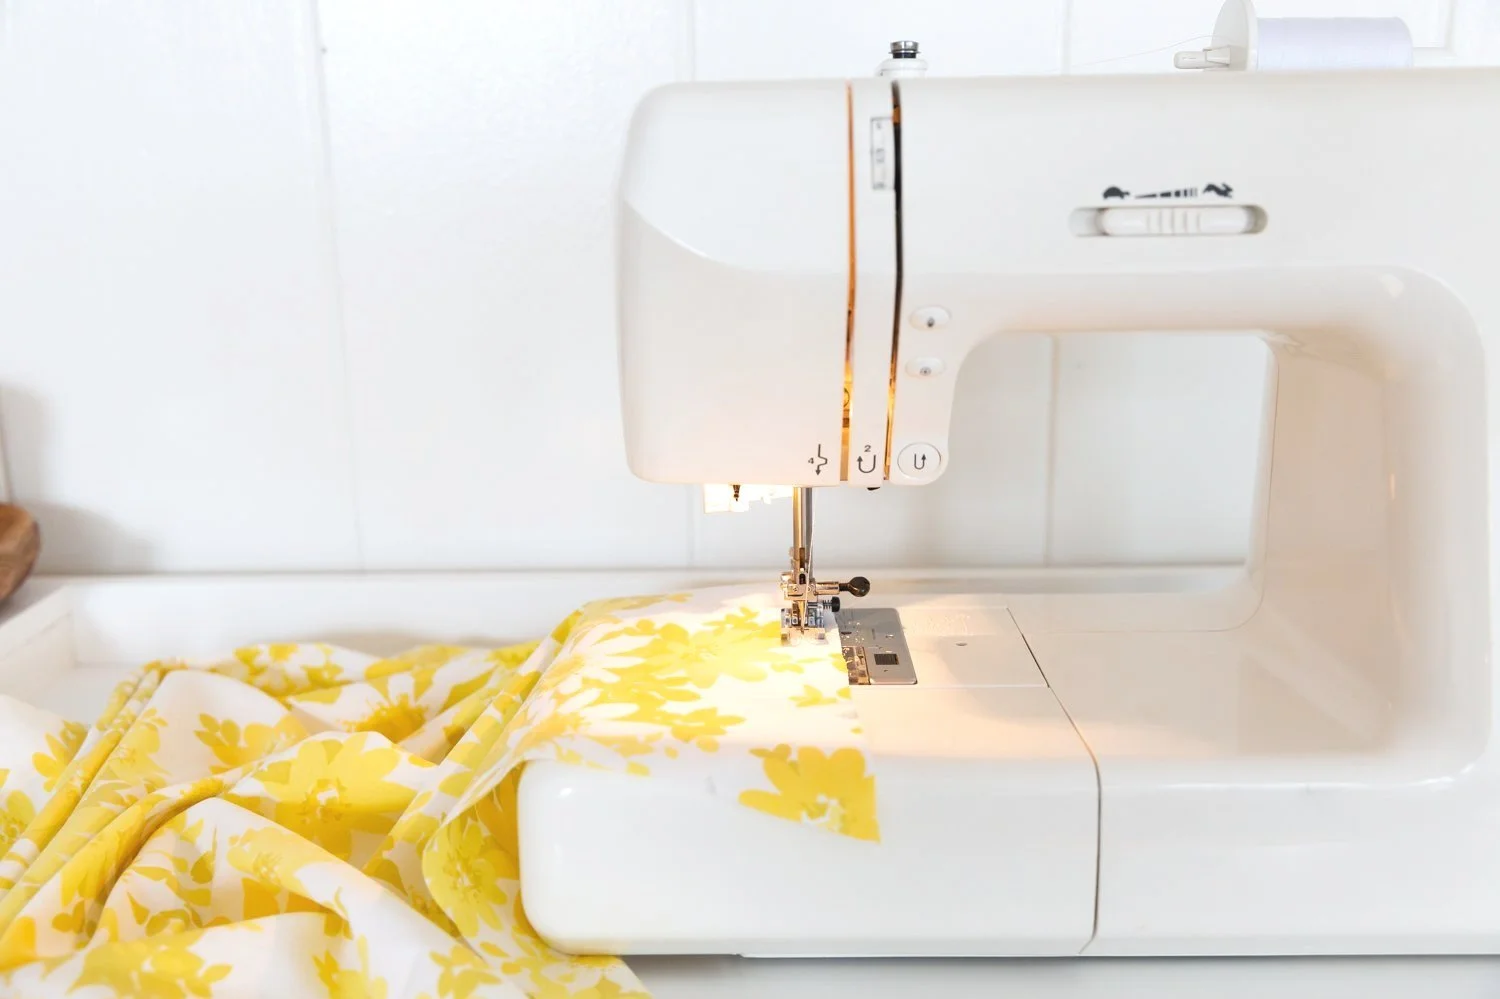
Sewing Machine ( I have a Kenmore that is no longer for sale)
Iron
Fabric Scissors (I have Gingher scissors)
Matching thread & bobbin
Pins

Estimated time: 2-4 hours
This dress only has six steps!


Directions
Prep & cut out your fabric. Wash your fabric. Iron any wrinkles out of your pattern. Lay the pattern pieces out onto your fabric and pin in place according to the diagram in the instructions (mine looks different because my facing is on white cotton fabric). Cut out pattern. Mark notches on your fabric as specified on the pattern (see tips for more detail).


—> Step One

Staystitch the front and back collar of the main pieces.

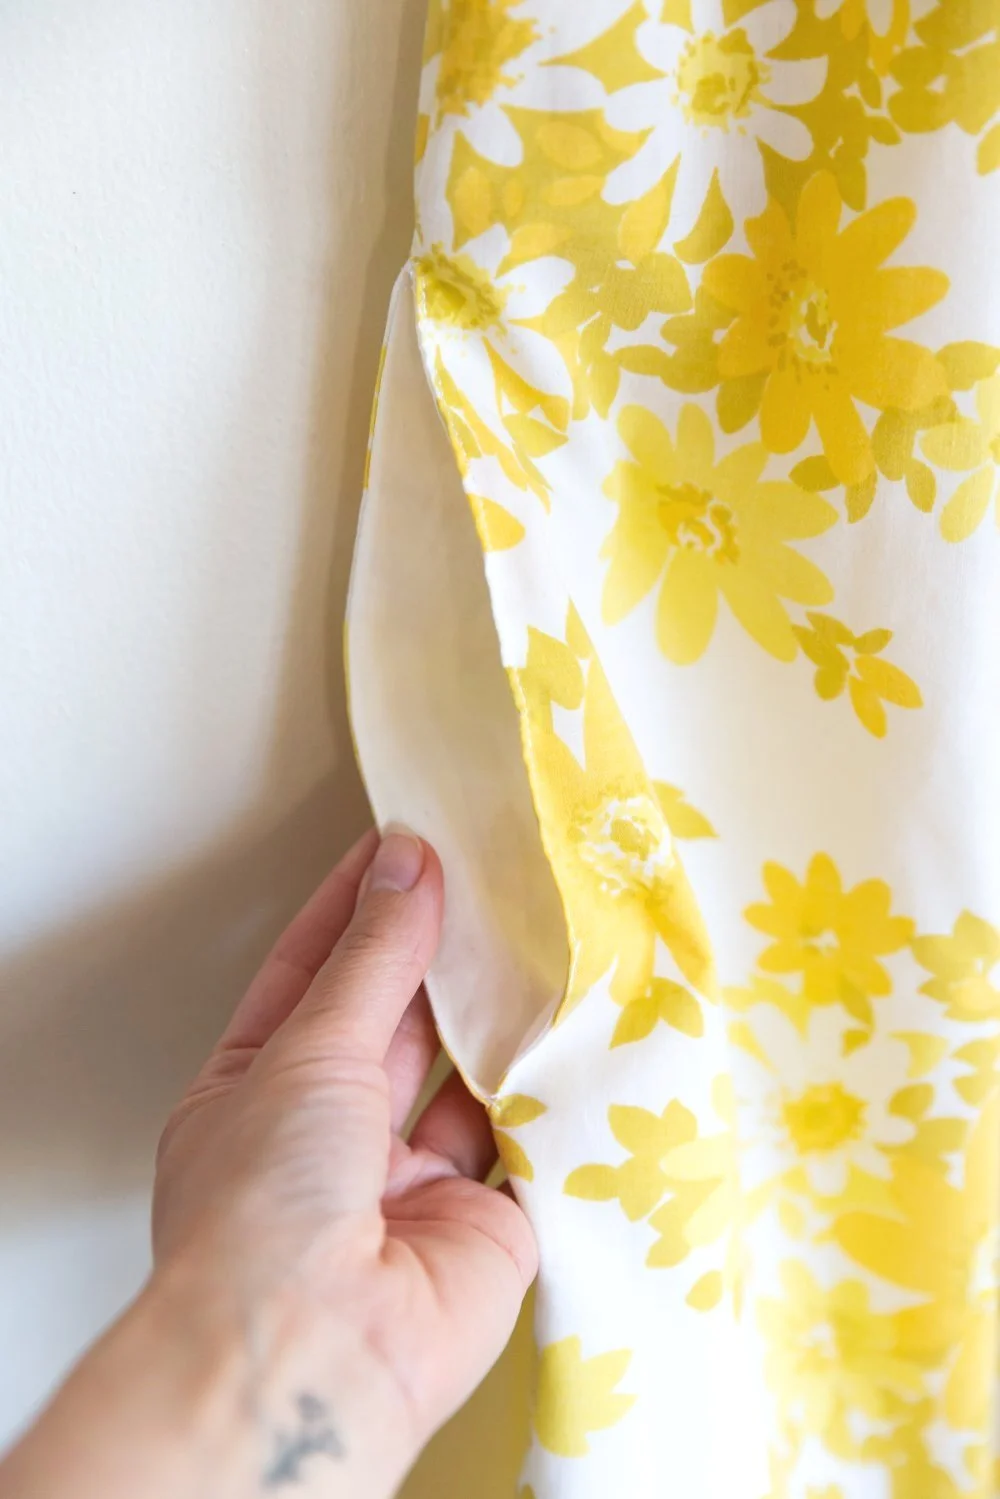
Sew the sides of the front and back main pieces together. Make sure to leave an open gap between the notches on the pattern where the pockets will be inserted.

—> Step Two

Sew one pocket piece to the other pocket piece starting and stopping at the designated notches in the pattern (this will leave an opening big enough for a hand to fit through). Repeat with the second pocket piece.

Stitch the pockets into the dress. Place the pocket in the hole so that right sides of the dress pieces are facing right sides of the pocket pieces. Stitch the side seams together on both sides of the pocket.


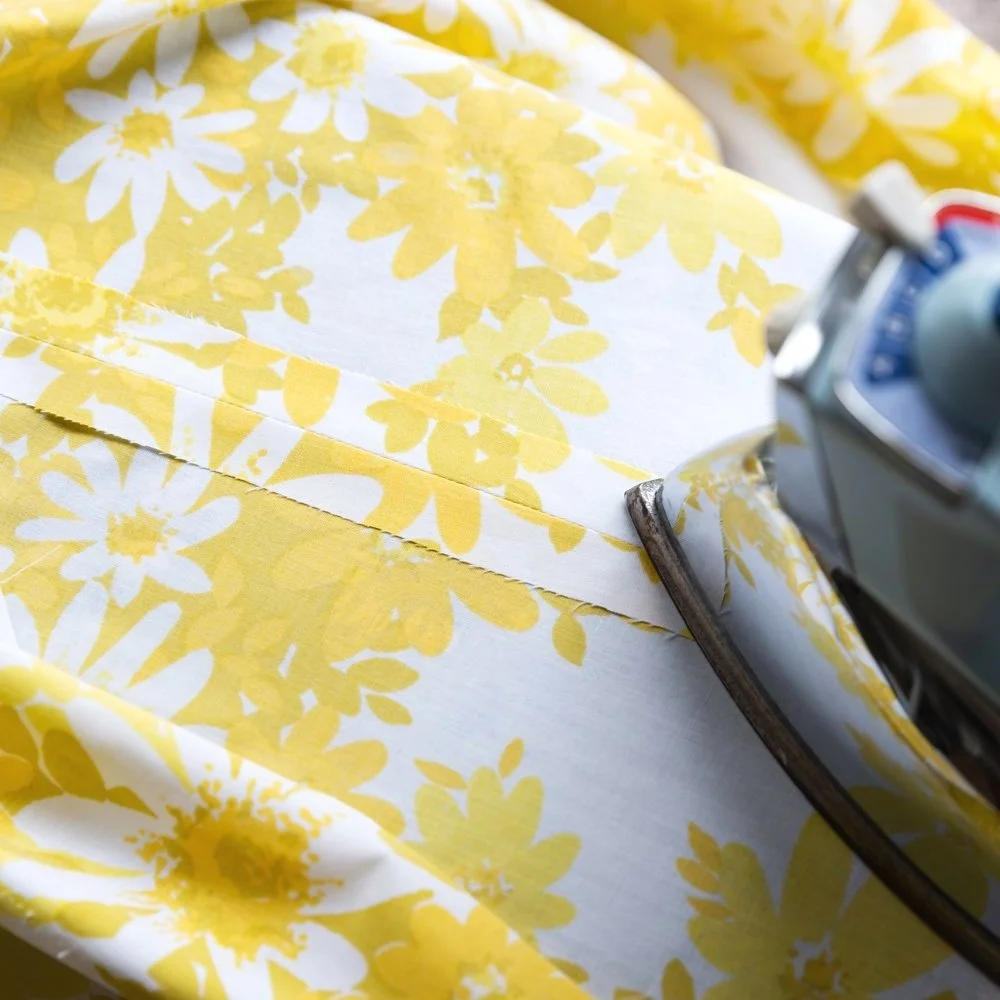
Press the side seams of the dress open.
Top Stitch the front of the pocket close to the seam.
—> Step Three

Sew the front facing to the back facing under the arm. Press the seam open wide.


Hem the facing. Fold the fabric lining about 1/4” under, then press and stitch down the hem.

With the right sides of the fabric together, sew the facing to the dress at the neckline.

Sew the facing together at the armhole, right sides of fabric should still be facing each other.

Trim the seam allowance and clip at the curves. Turn the dress right side out, press flat the neck and arm seams and topstitch close to the seam (leaving an opening at the top of each side for the shoulder ties to fit through). Make a hand stitch under the arm on both sides that tacks the facing to the dress.

—> Step Four

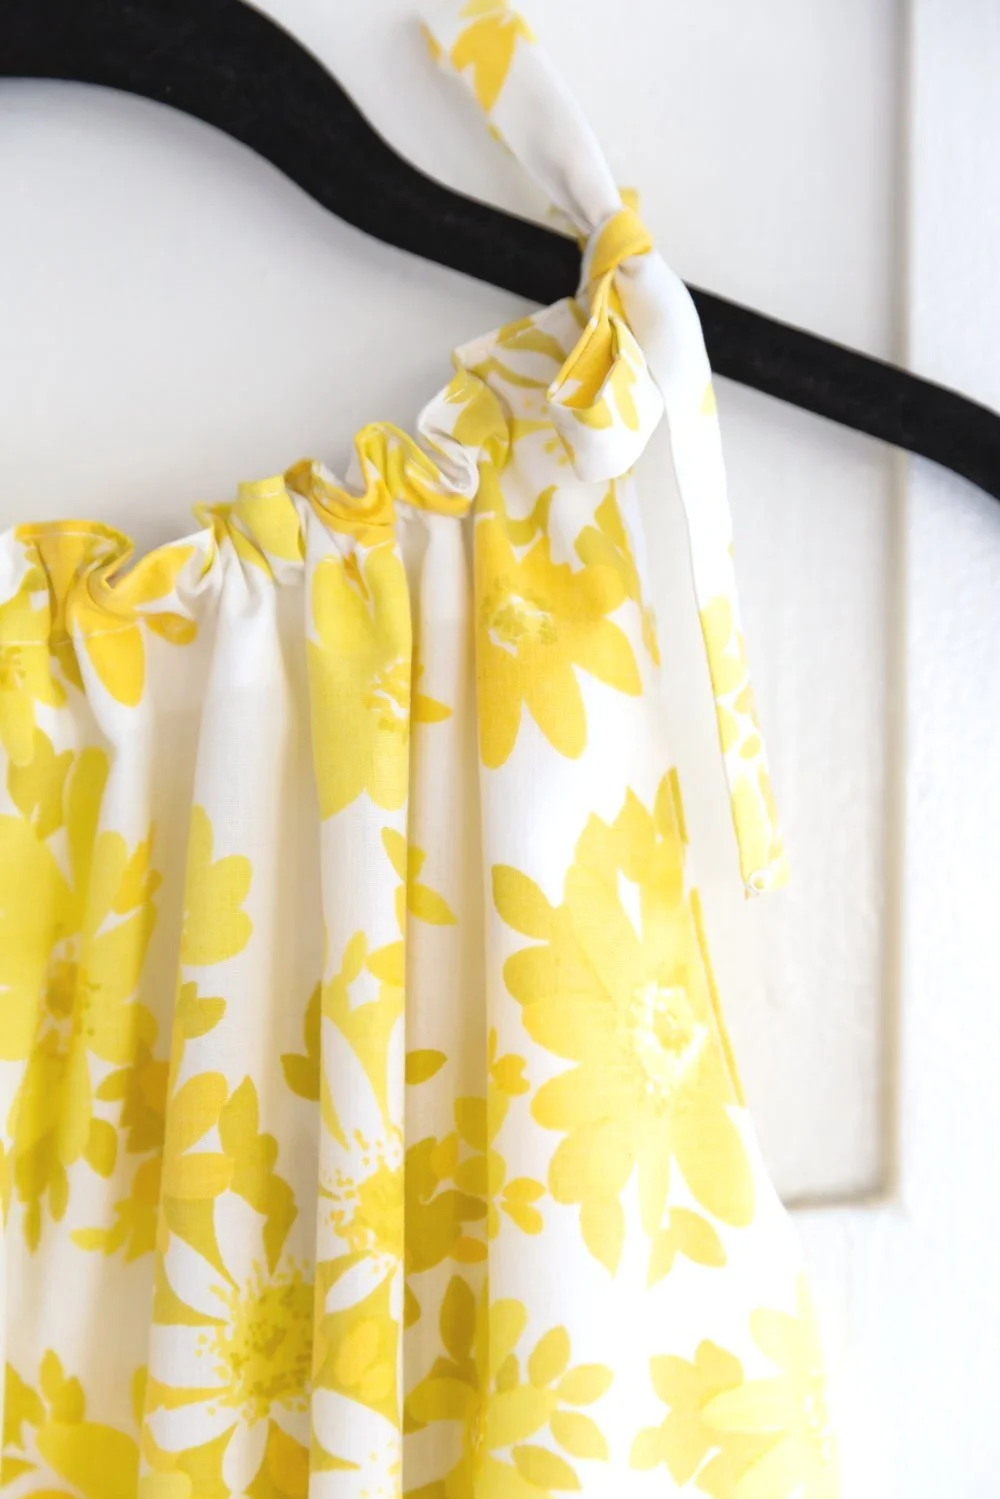
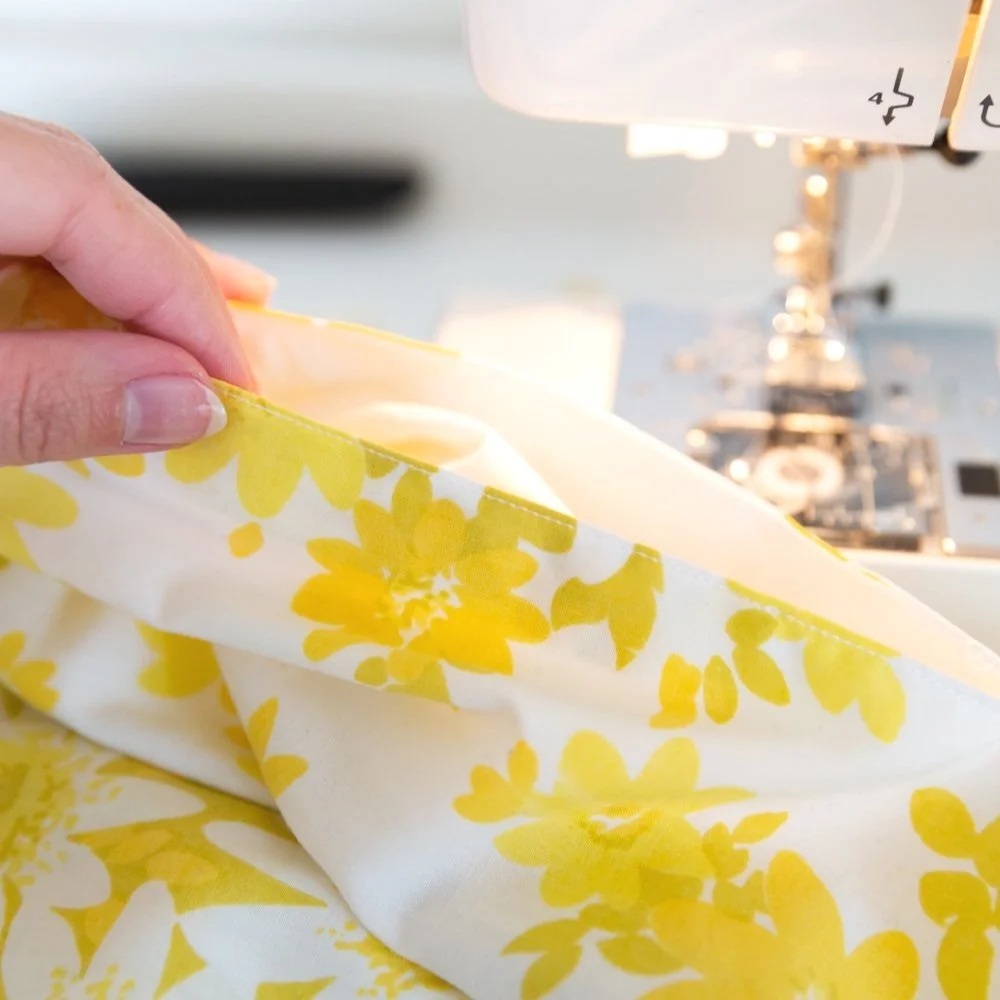
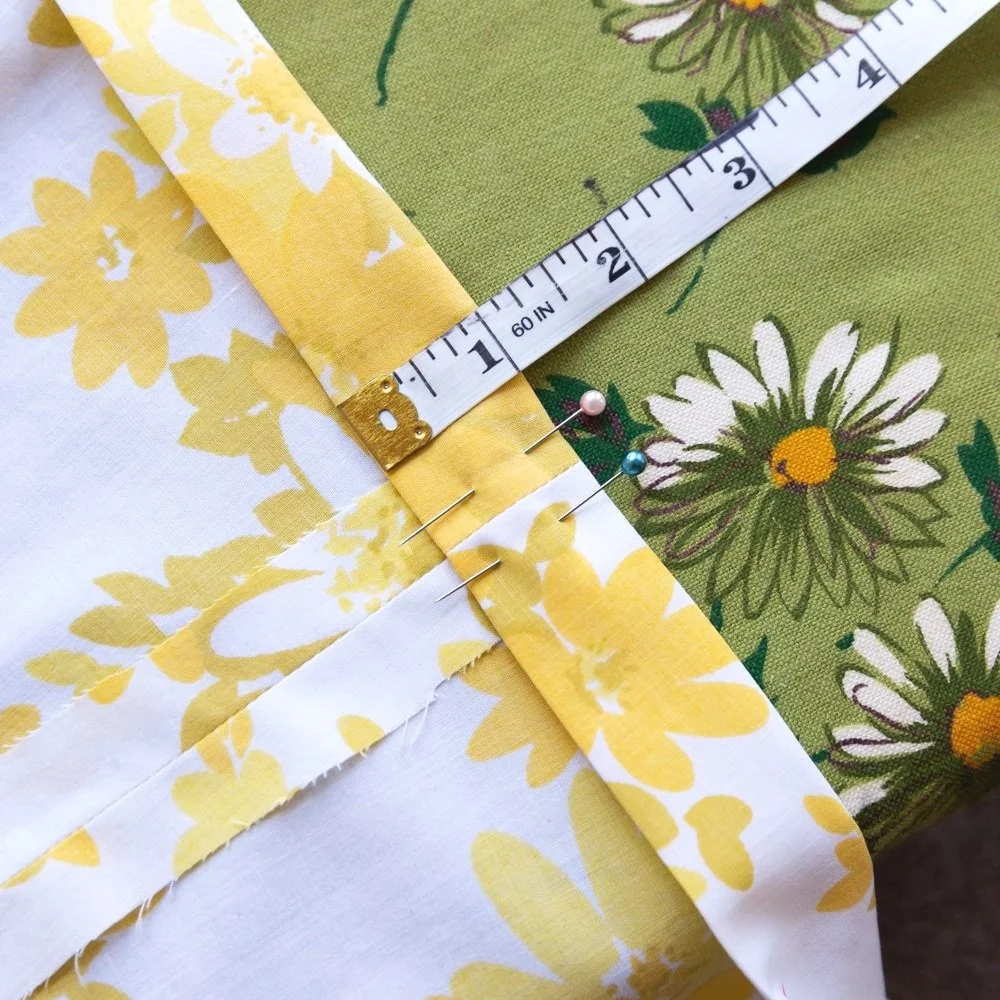
Along the neckline, stitch a line about one inch down from the seam as indicated on the pattern. This will be the pocket that the shoulder ties live in.

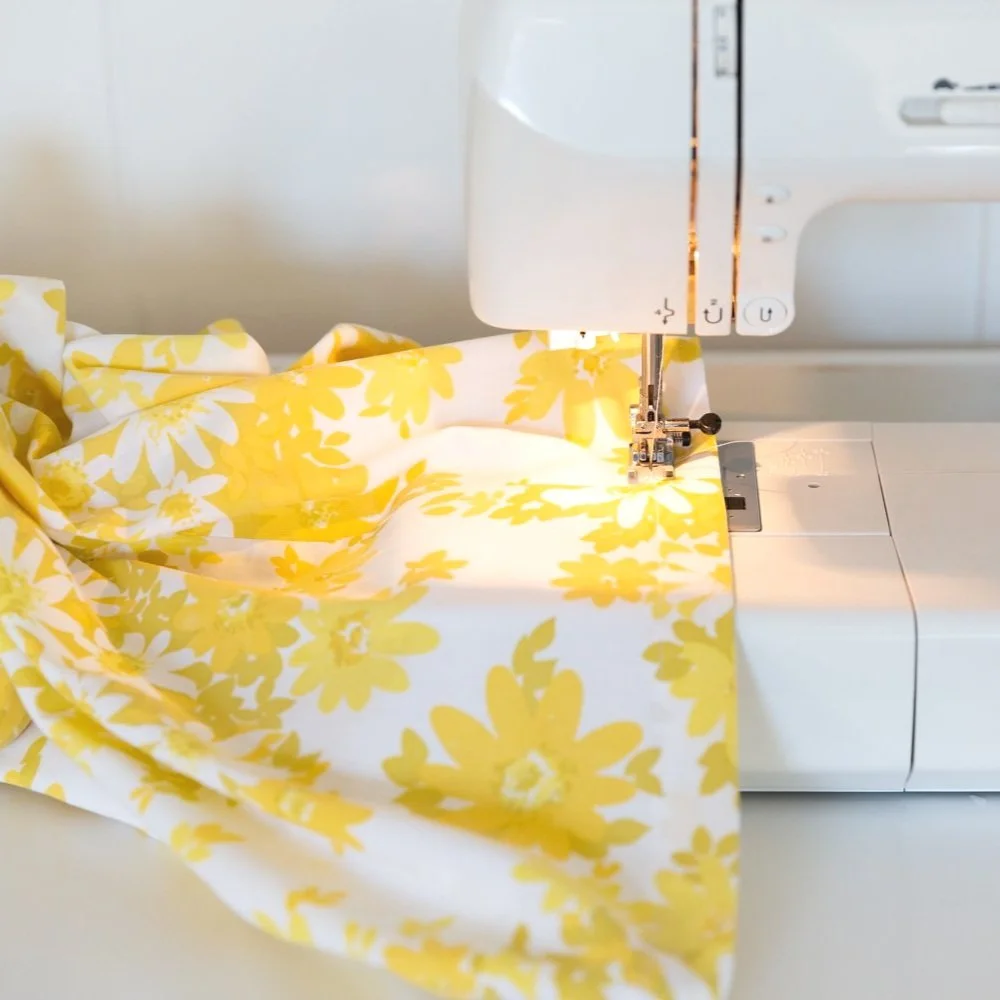
I strayed from the directions a little bit here - fold the fabric for the two ties in half horizontally (burrito style) with right sides facing each other and stitch a seam down the length of each.

Using a safety pin, turn both ties right side out, turn in the fabric on each end top stitch the ends. Press the ties flat.
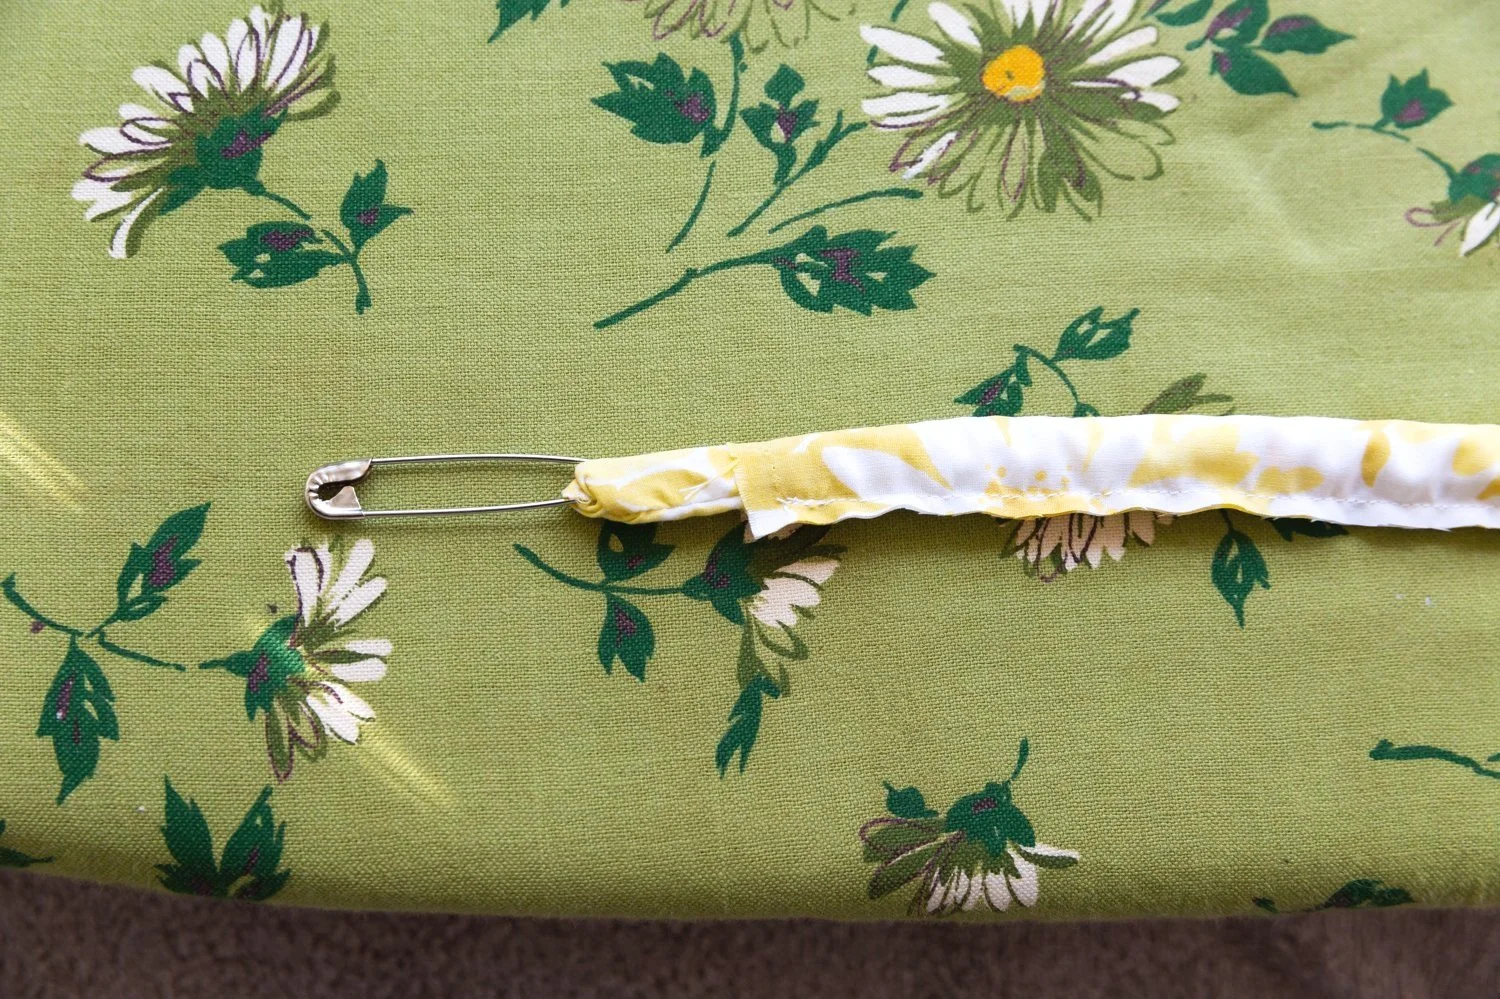

Use a safety pin to pull a tie through the front neckline of the dress. Repeat with the back neckline.


—> Step Six
(I skipped step five, which is directions for the belt)

Turn the hem up 1/2 inch all the way around and press.

Turn the hem up 1 inch, press, and pin. Stitch around the hem close to the fold line (almost an inch up from the hem) to secure the hem in place (I strayed a bit from the pattern here too!).
Pat yourself on the back, you’re all done!
-Jessie